Spotify and Apple Music are the 2 most popular music streaming services in many countries. Some Spotify users want to switch to Apple Music but don’t want to lose some favorite playlists on Spotify. Well, currently there are some useful tools for users to transfer Spotify playlists to Apple Music easily. The third tool allows you to transfer Spotify playlists to Music or iTunes app even without an Apple Music subscription. Let’s see how.
Spotify has some great playlists, Now you can move those playlists to Apple Music! You can also convert your Spotify liked songs and the Spotify albums you are following. Tune My Music is an online tool that allows you to convert your music library and playlists from Spotify into Apple Music in a few easy steps.
However, there are some drawbacks.

1. Open https://soundiiz.com/tutorial/spotify-to-apple-music in your browser and click Start now.
2. Log in or sign up.
3. Connect Spotify and choose the playlists you want to convert.

4. Configure your playlist and select songs you want to convert.
5. Choose Apple Music as a destination and log in to your Apple Music account.

6. The converting begins.

7. After converting, open your Music or iTunes app and you will find the Spotify playlist in Apple Music.

Compared to Tune My Music, Soundiiz transfers Spotify playlists to Apple Music in the same order. However, some songs are still missing or with the wrong artwork.

Unlike the above 2 tools, Pazu Spotify doesn’t transfer Spotify playlists to Apple Music directly. Instead, it helps you download Spotify playlists to MP3, M4A, etc., and then you need to import the songs to Apple Music manually. In this method, you can still access the playlist even after canceling Apple Music subscription. Besides, all songs can be matched with all ID3 tags.
With the help of Pazu Spotify Converter, you can download Spotify songs, albums and playlists to MP3, WAV, M4A, FLAC, and other audio formats with Spotify Free or Premium. Then you can add these songs to Music or iTunes even without Apple Music subscription. It will convert Spotify music at high conversion speed for playing in the background. The easy step-by-step guide for using Pazu Spotify Music Converter is as follows:
Download, install and run Pazu Spotify Converter on your Mac or Windows. Log in your Spotify account with the built-in web player. The steps are the same whether you have the Mac or Windows version of Pazu Spotify Converter. Here we will take Mac version as example.

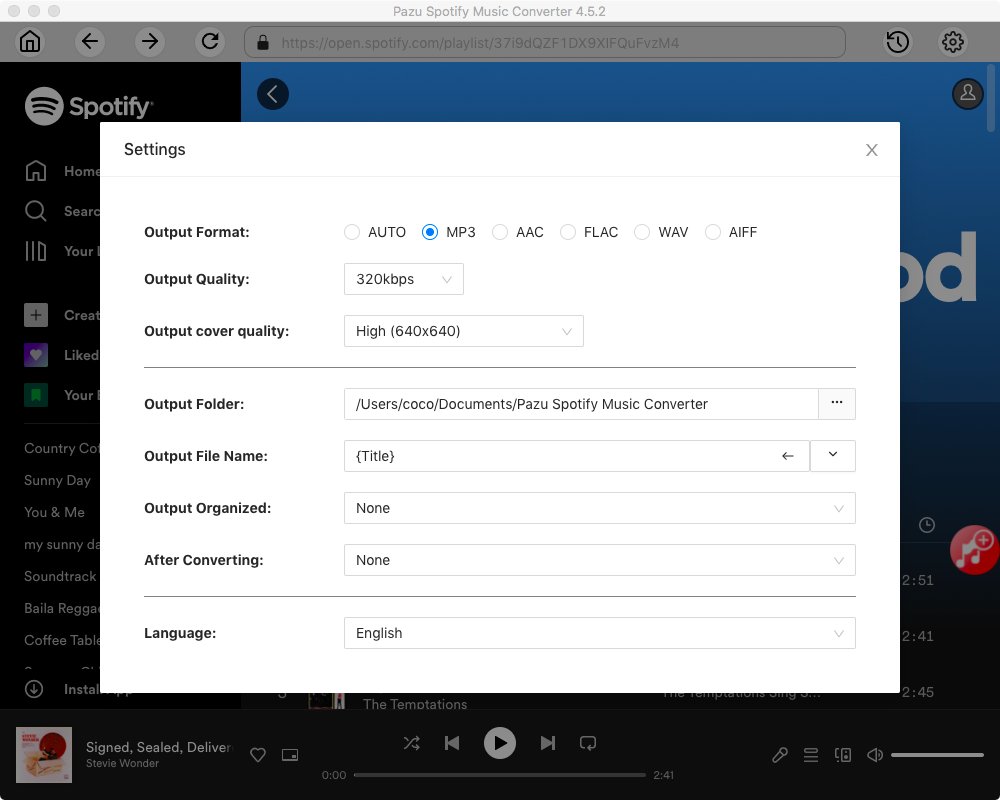
Click the gear icon on the top right corner. Here you can select output format (AUTO(M4A)/MP3/AAC/FLAC/WAV/AIFF), choose output audio quality, customize the output path, organize the output files in various ways, rename output files and more.
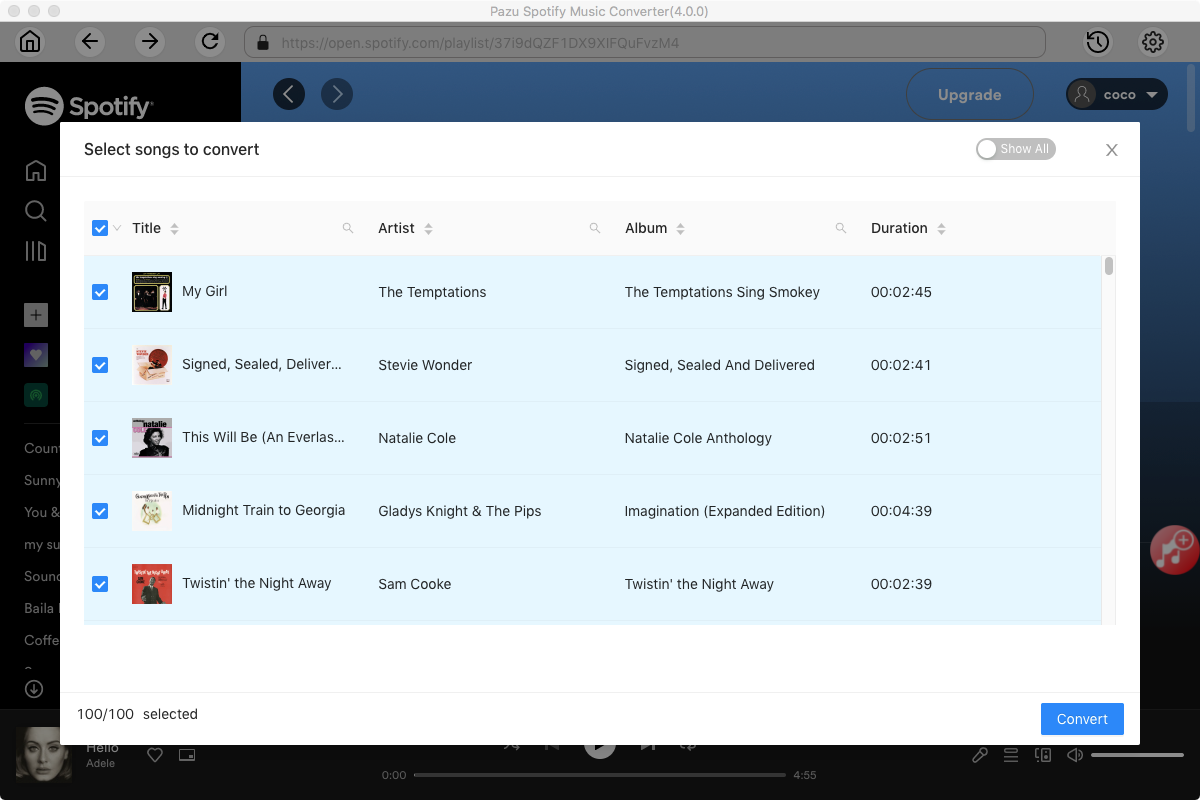
Use the integrated Spotify web player to search the songs, albums, playlists or podcasts you want to download. Click the Add to list button to load all songs in the album or playlist, and uncheck the songs you don’t want to download if there are any.
Click Convert button to start downloading the Spotify songs to your local computer.
Once the conversion is done, you can find your Spotify songs downloaded as local files by clicking the below folder button or directly going to the output folder you customized in the previous step.

Transfer the downloaded Spotify playlists to the Music or iTunes app on your Mac or Windows.
On Mac
You can also drag a file or folder from the Finder to the Music window to import it.
On Windows
Note: The free trial version of Pazu Spotify Converter enables you to convert the first three minutes of each song. You can remove the trial limitation by purchasing the full version.

Download and convert any Spotify songs, albums, playlists to MP3/M4A etc.