What is crossfade in music? The crossfade makes a smooth transition between one song and another, which creates an effect similar to that used by DJs, where something is always playing, avoiding the silence at the end of a song.
The crossfade feature in Apple Music is currently available on Mac, Windows, Android devices, as well as iOS 17 and later. Keep reading and learn how to turn on/off Crossfade on Apple Music on your devices.
Related article: AutoMix Apple Music
Contents
When you’re with a group of people, downtime between songs can ruin the “party” atmosphere. The crossfade technique is perfect for keeping the music flowing in a quiet environment.
Crossfading means setting the song to fade in (gradually increasing its volume) while the previous song fades out, which helps prevent gaps of silence between songs.
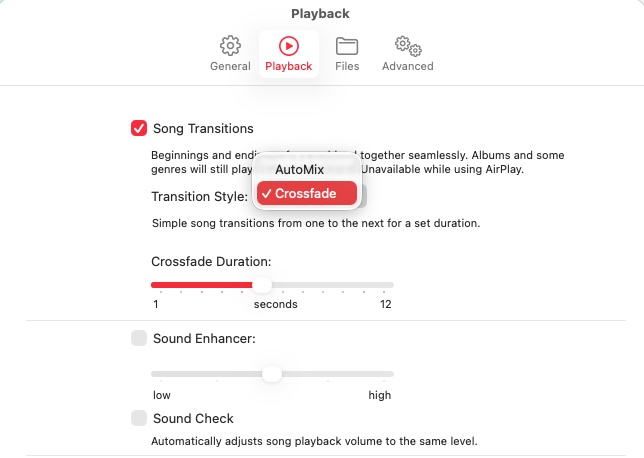
With the Apple Music app
With iTunes
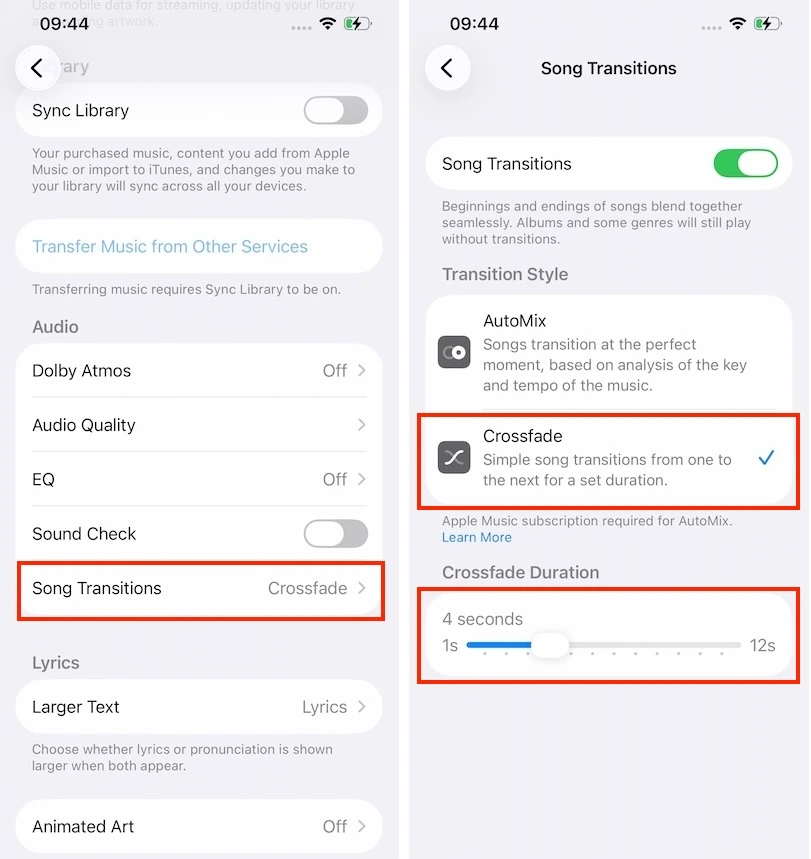
Crossfade has been a highly desired addition that aligns Apple Music on iOS with rival platforms like Spotify. Finally, Apple Music’s crossfade feature has been available since iOS 17.
The introduction of crossfade to Apple Music on iOS brings several key benefits for users. It creates seamless transitions between songs, eliminating any gaps to enhance the overall listening experience. The feature also harmonizes the user experience across various Apple Music platforms, as crossfade was already available on the Mac version. Overall, this incorporation of crossfade makes Apple Music on iOS more appealing and enjoyable.
Here’s how to enable Apple Music Crossfade on iOS:

If the crossfade feature doesn’t work on your Apple Music, you can use a DJ app such as Offtrack or even Spotify. To play Apple Music songs with Spotify and use the crossfade feature, you just need to download Apple Music to MP3s and play them in Spotify as local songs. Another advantage is that you can still play the songs even after cancelling your Apple Music subscription.
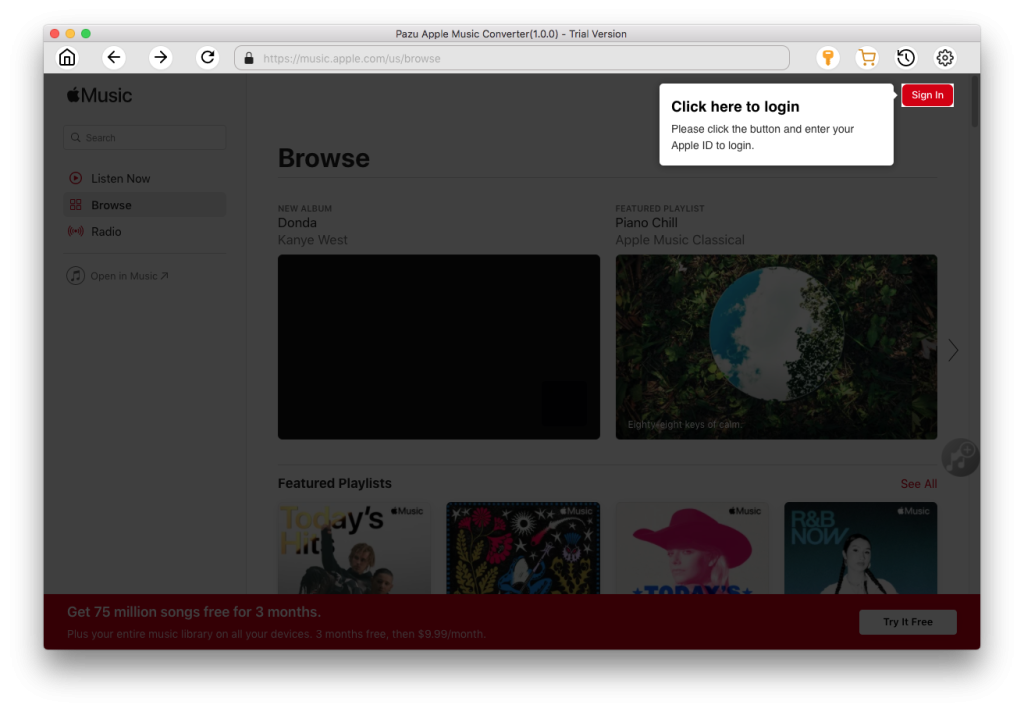
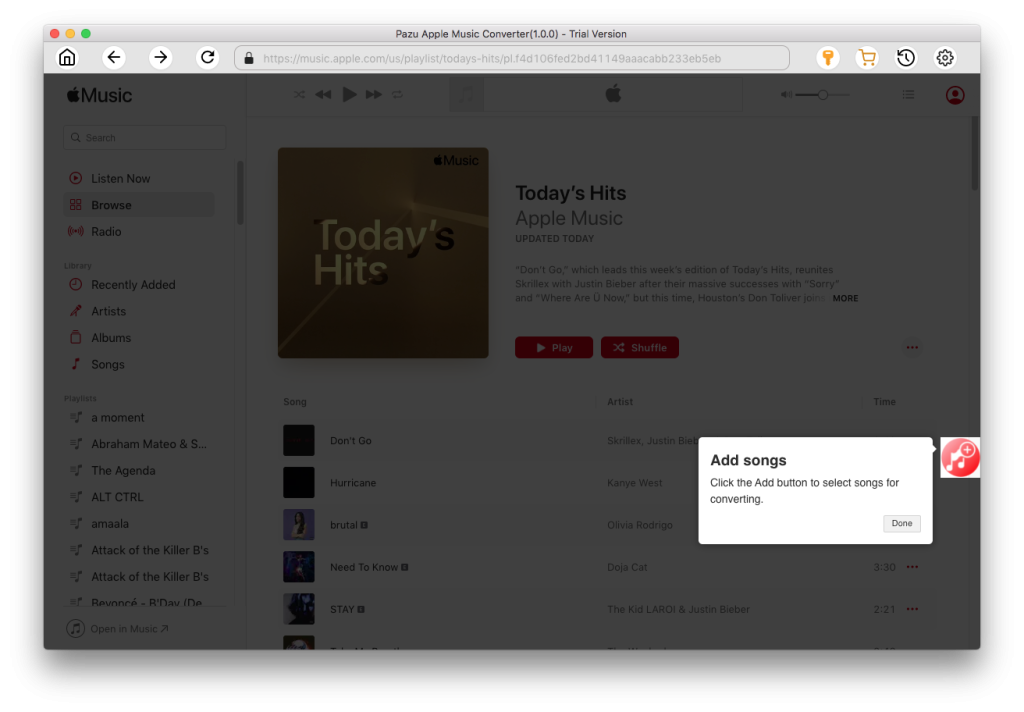
Pazu Apple Music Converter lets you download any Apple Music songs, albums and playlists to MP3, AAC, WAV, FLAC, M4A, AIFF without any loss in quality. One of the distinguishing features of Pazu Apple Music Converter is that it can download and convert Apple Music at a really fast speed – almost 10 times faster than any other similar software. It is integrated with the Apple Music web player, so you can batch convert any Apple Music playlist or album to the format you choose without the Apple Music or iTunes app. The following tutorial will show you how to download Apple Music to MP3 and get Apple Music for free.
Download, install and run Pazu Apple Music Converter on your Mac or Windows.
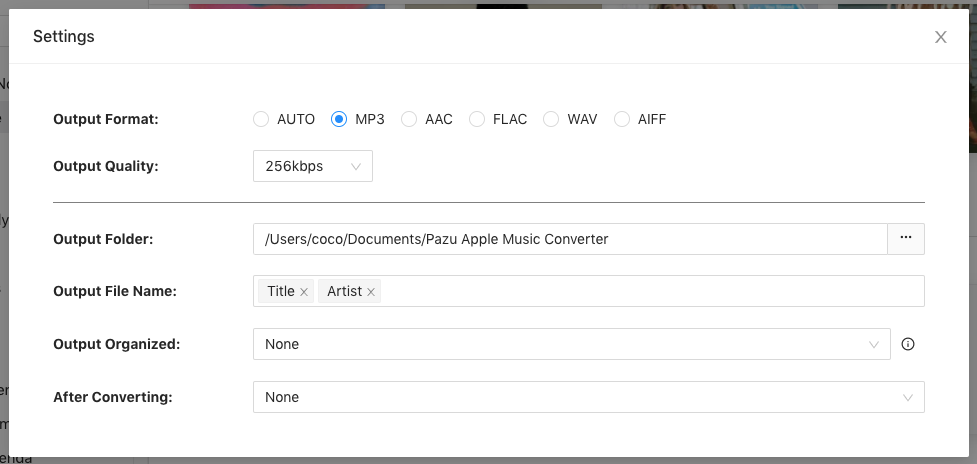
The default format is M4A. Apple Music Converter also supports MP3, AAC, FLAC, WAV and AIFF. Click the gear icon to change the output format or folder.
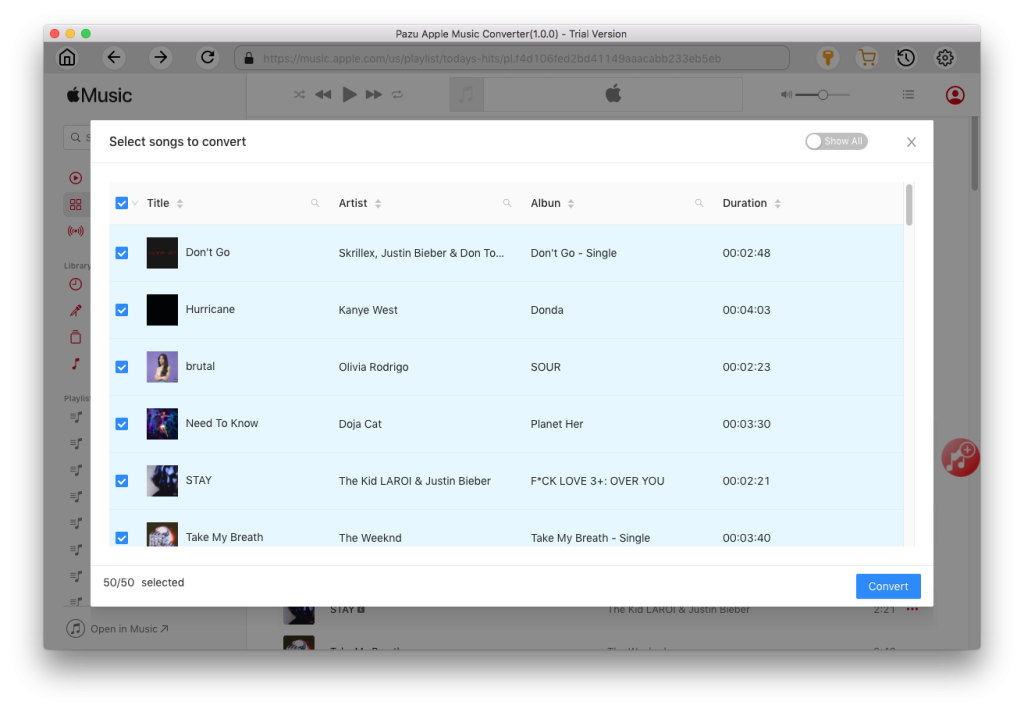
Follow the on-screen instructions to choose a playlist, artist, or album that you want to download.
Click “Convert” button to start downloading Apple Music songs, albums and playlists to MP3, so you can play them anywhere you want, even after cancelling Apple Music subscription.


Download Apple Music to MP3, M4A, etc.