

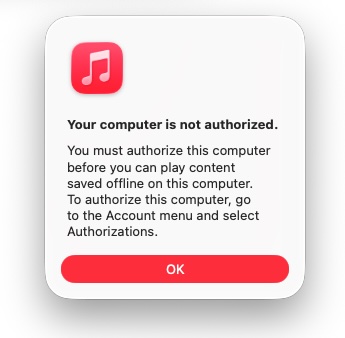
To access your iTunes Store and Apple Account purchases, you’ll first need to authorize it. On a Mac, authorization is handled through the Apple Music app or Apple TV app; on Windows, you can authorize via iTunes or the Apple Music app for Windows.
You can authorize up to 5 computers (Mac and PC combined) at a time under a single Apple ID. If you have reached your five-computer limit and want to add a new device, you will need to deauthorize one of your existing computers first.
Below is a step-by-step guide on how to authorize and deauthorize your Mac or PC with Apple Music or iTunes.
Contents
You can only authorize the computer you have direct access to. Authorization can’t be done remotely from another device like another computer, iPhone, iPad, or iPod touch.
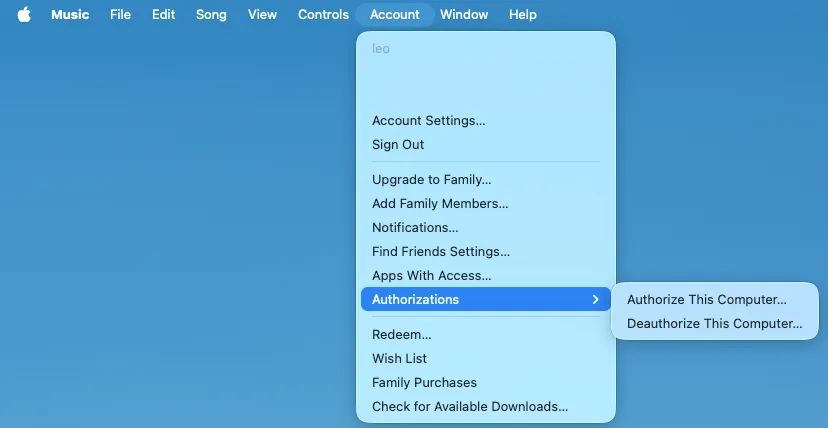
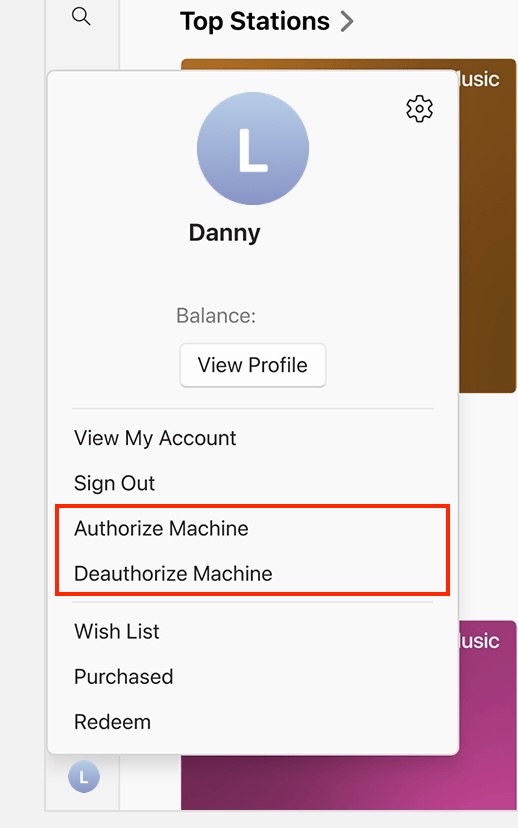
To authorize or deauthorize your Mac:

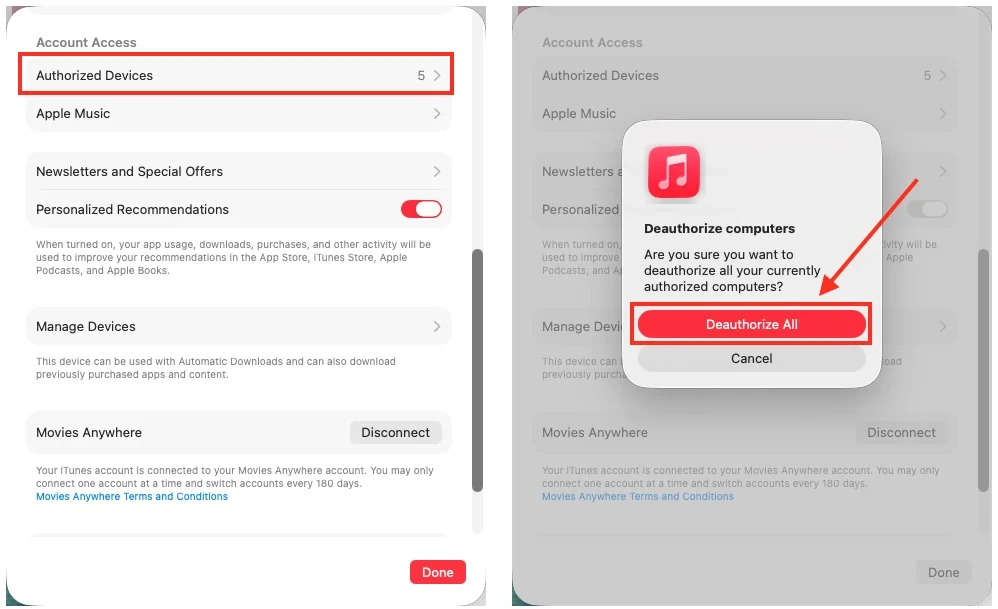
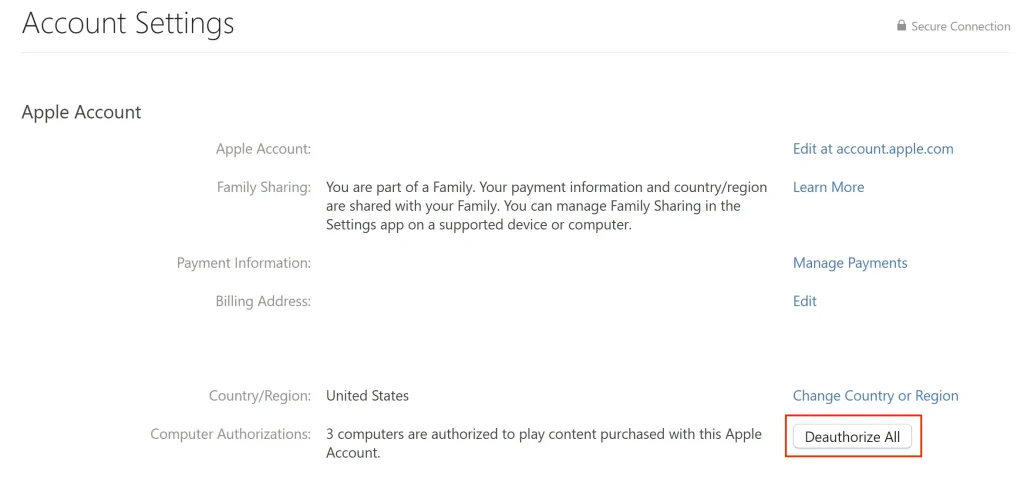
If you need to deauthorize a computer that you no longer have access to, you’ll need to deauthorize all your devices and then reauthorize the ones you still have.
Keep in mind that the “Deauthorize All” option only appears in your Account Settings if you have 2 or more authorized computers attached to your Apple ID. If you only have 1 computer authorized, the option will not be visible in your account settings.
In addition, you can only deauthorize all your computers once a year.
Apple Music allows users to download tracks, albums, and playlists for offline playback. However, once you deauthorize your computer, the downloaded content will no longer be accessible.
If you wish to save Apple Music songs permanently on your computer, you can use a smart Apple Music downloader – Pazu Apple Music Converter. This reliable and efficient tool enables you to download Apple Music playlists, albums, and songs in popular formats like MP3, AAC, and FLAC for offline playback on any device.
In addition to downloading your favorite playlists and tracks, Pazu Apple Music Converter also maintains the original audio quality, ID3 tags, and metadata, ensuring that no essential information is lost. An outstanding feature of Pazu Apple Music Converter is its exceptional download and convert speed. It works nearly 10 times faster than similar software, saving you valuable time when downloading large music collections. Plus, Pazu Apple Music Converter integrates with the Apple Music web player. This allows you to search for and select music directly within its interface, eliminating the need for iTunes or the Music app.
Key Features:
The following tutorial will show you how to download Apple Music to MP3 and get Apple Music for free.
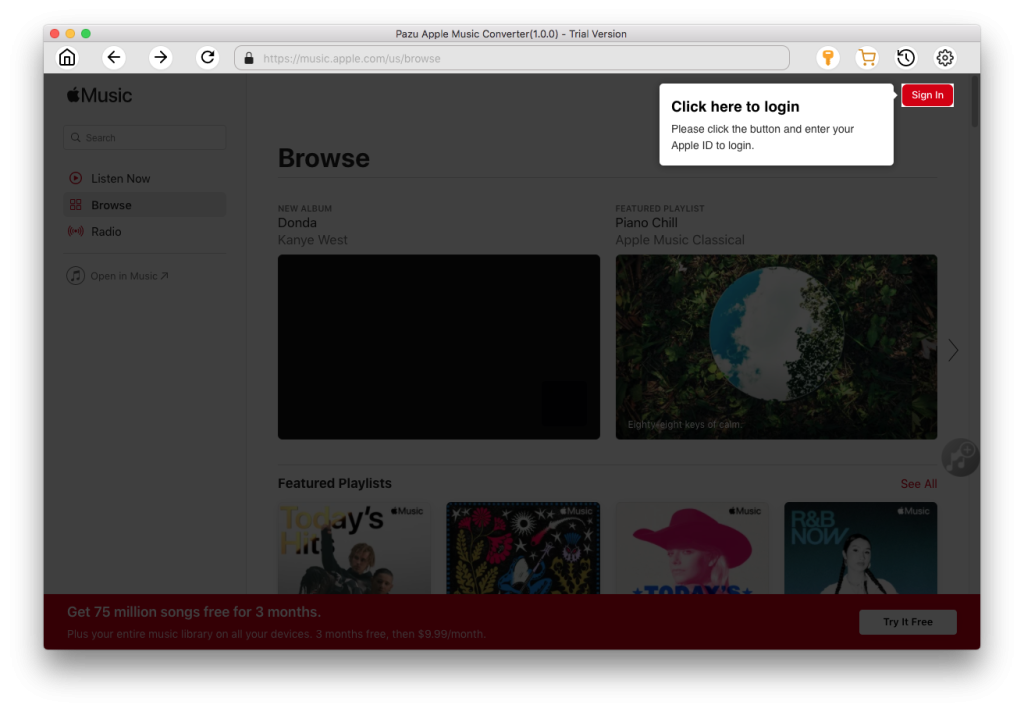
Download, install and run Pazu Apple Music Converter on your Mac or Windows.
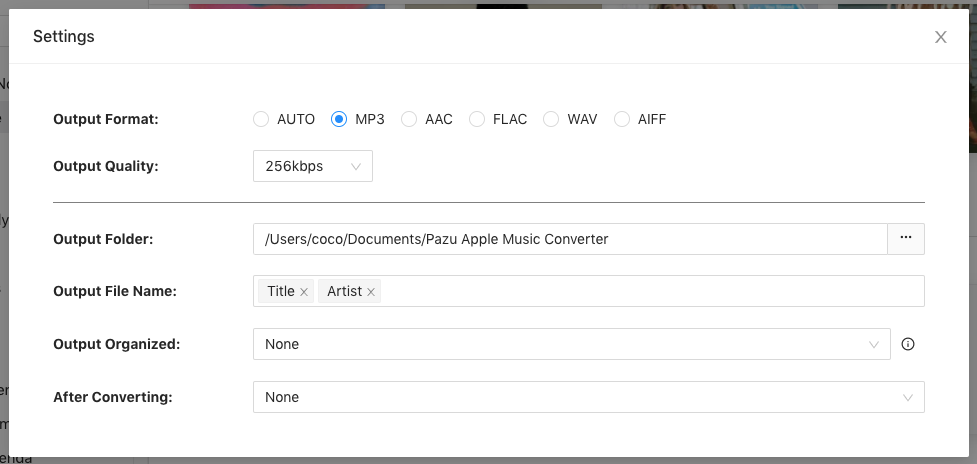
The default format is M4A. Apple Music Converter also supports MP3, AAC, FLAC, WAV, and AIFF. Click the gear icon to change the output format or output folder.
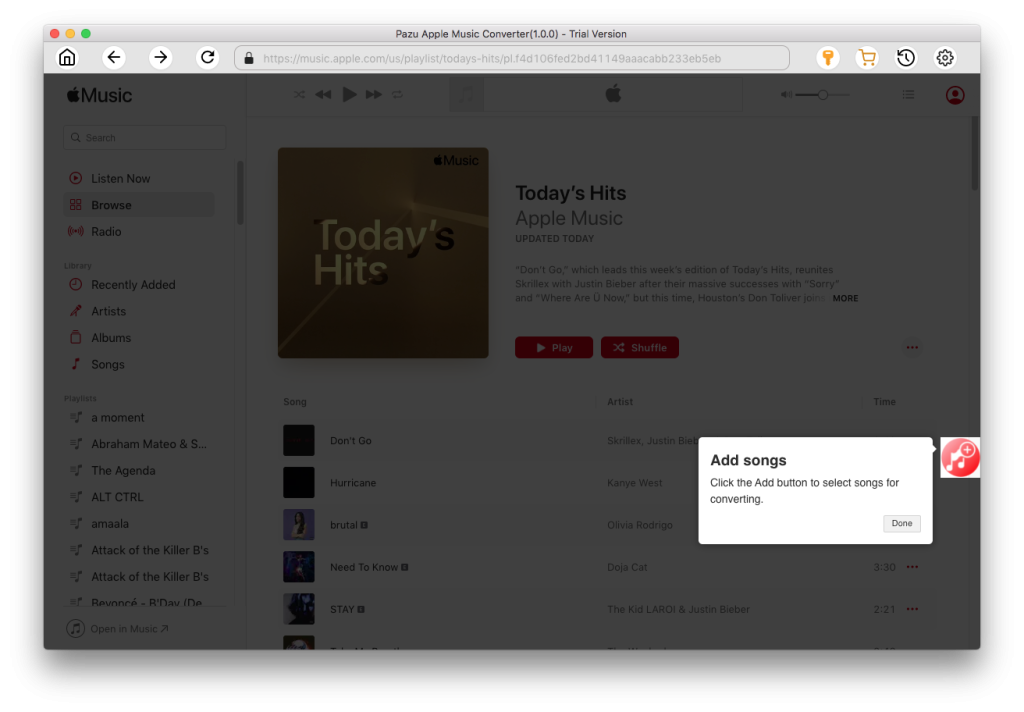
Search for or go to the playlist, artist, or album that you want to download. Click the “Add songs” button.
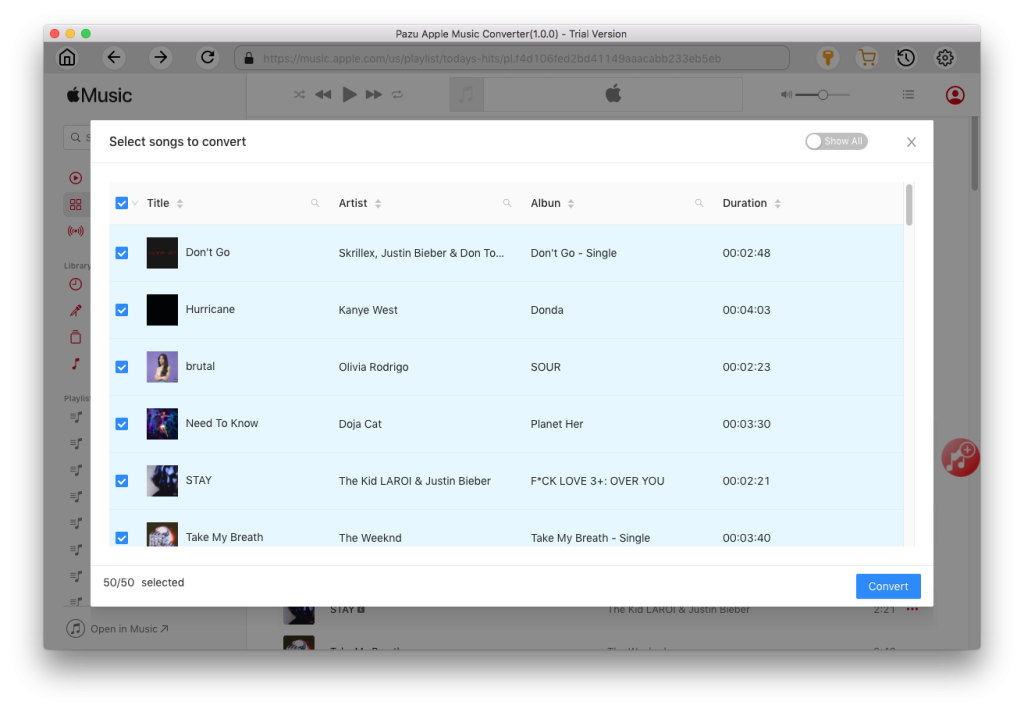
Uncheck any songs you don’t want to download, then click the “Convert” button. Once downloaded, you can play them anywhere you want, even after canceling your Apple Music subscription.
No, Apple Music browser streaming doesn’t require hardware authorization.
Yes. A single Mac or PC can be authorized for multiple Apple IDs. This allows different family members to access their respective DRM-protected purchases on a shared household computer.

Download Apple Music to MP3, M4A, etc.