With a vast music library and immersive Spatial Audio with Dolby Atmos, Apple Music stands out as one of the most popular music streaming platforms. Beyond music streaming, Apple Music also offers social media functions, allowing users to share songs and playlists with friends. If you subscribe to Apple Music, you can create a profile, allowing friends to follow you, view your listening activity, and access your shared playlists.
However, if you no longer want to share your listening preferences, you can make your listening history and playlists private by editing your Apple Music profile. Here’s how you can achieve this on both desktop and mobile devices.
Read Also: How to Make a Playlist Private on Apple Music
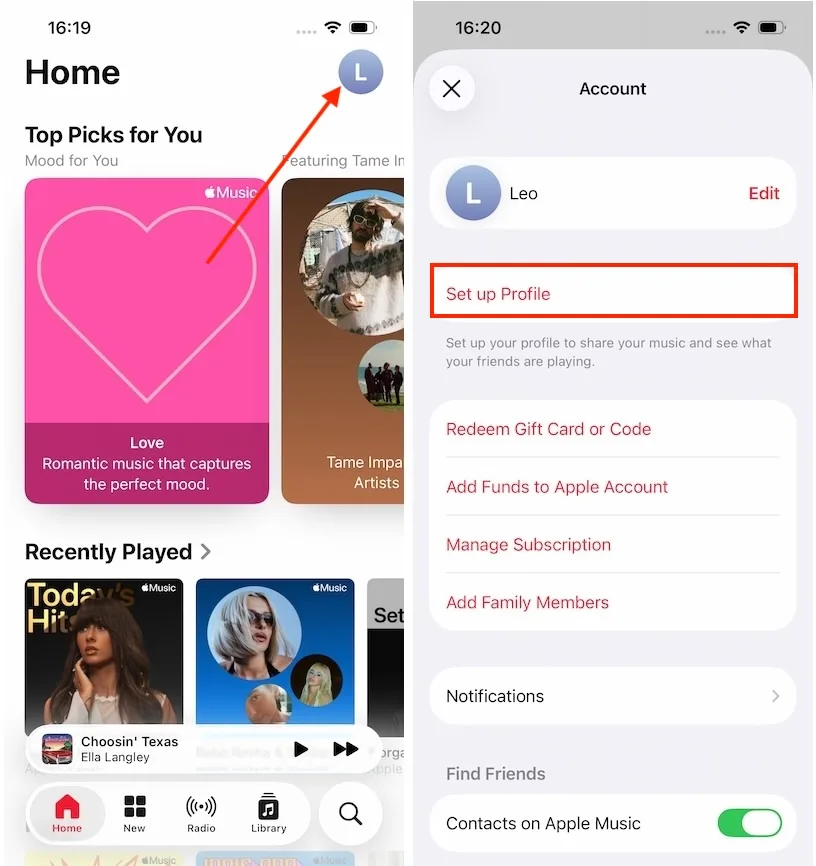
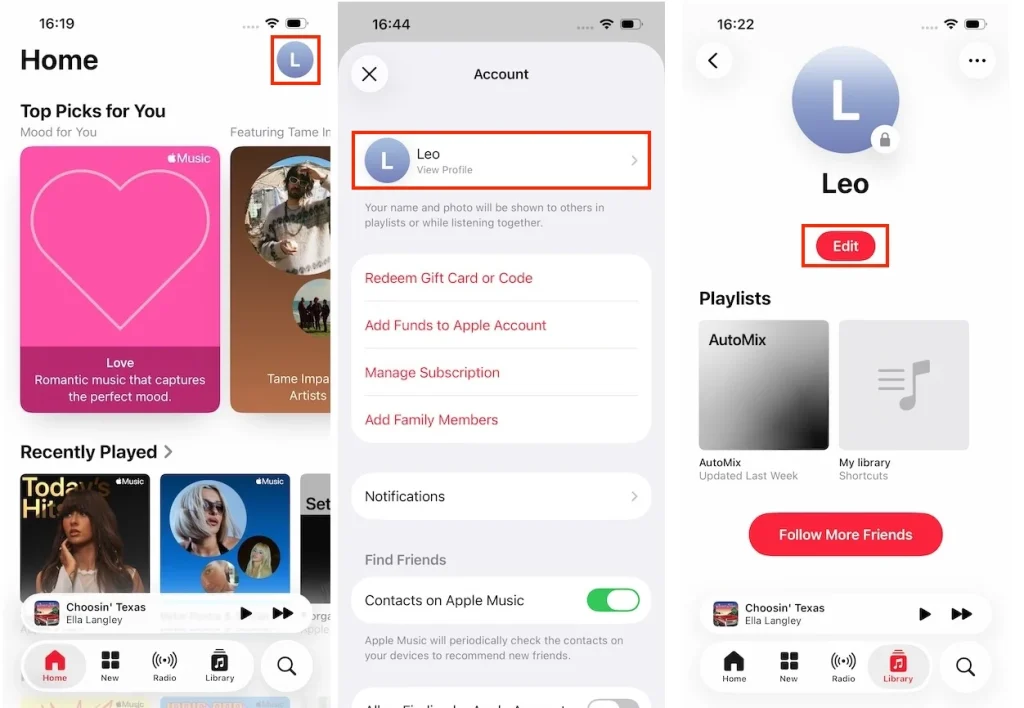
If you allowed others to view your profile and listening history when setting up your Apple Music profile, here is how to make it private on your iPhone and iPad.

You can also adjust your Apple Music profile settings from your Mac or Windows computer. Follow these steps to make your Apple Music account more private.
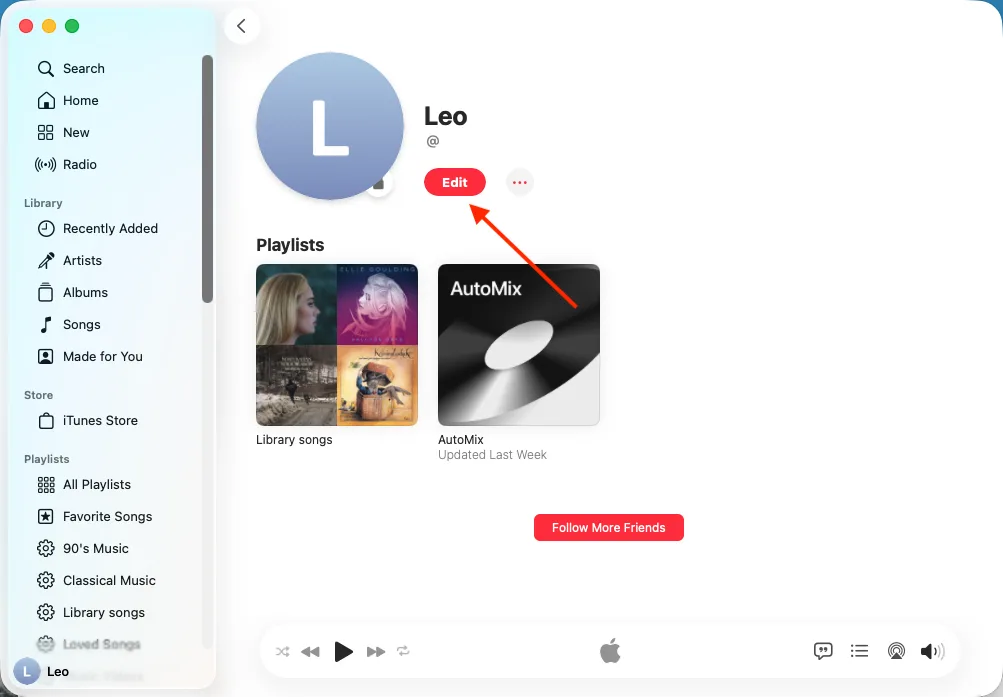
1. Open the Apple Music app on your Mac or PC. Click your name at the bottom left and select “View Profile.”

2. Click Edit under your profile name.
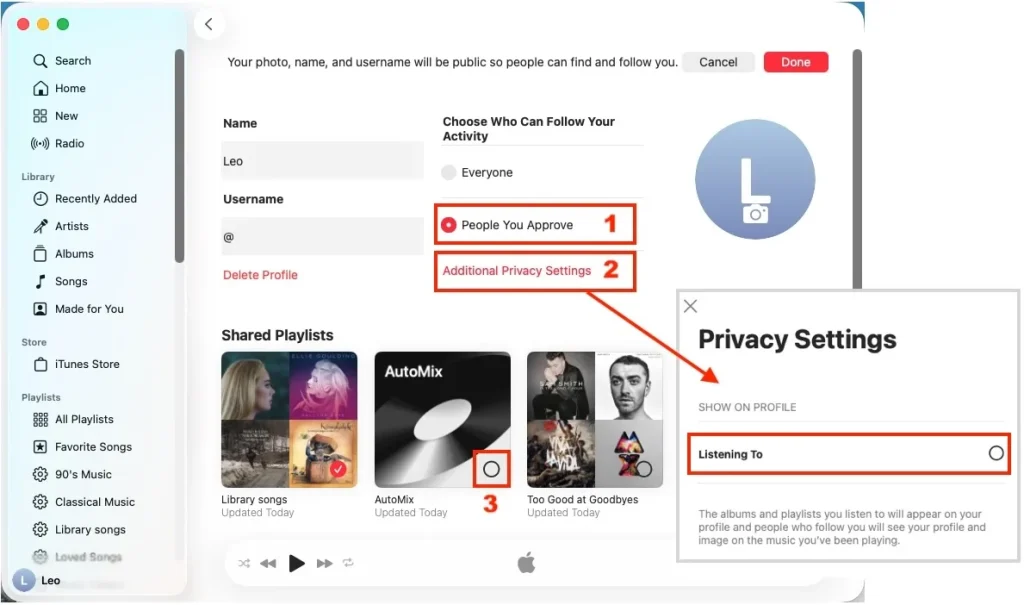
3. To make your Apple Music profile private, you can:
4. Click the Done button on the top right.
If you prioritize privacy for your Apple Music account and want an effective solution, consider downloading songs and playlists as MP3 files and playing them offline. To do this, you can use a professional Apple Music downloader – Pazu Apple Music Converter. This secure and efficient tool allows you to convert Apple Music playlists, albums, and songs to MP3, AAC, FLAC, and other popular formats on both Mac and Windows without any loss in quality. By doing so, you can enjoy the lossless Apple Music of your favorite songs anywhere and anytime while maintaining total privacy.
Pazu Apple Music Converter not only downloads your favorite playlists and songs but also preserves the original audio quality, ID3 tags, and metadata, ensuring you won’t lose any important information. Notably, the converter has a remarkably fast download speed – almost 10 times faster than comparable software. In addition, Pazu Apple Music Converter is integrated with the Apple Music web player, allowing you to batch convert any Apple Music playlist or album to your preferred format without iTunes or the Apple Music app.
Follow the tutorial below on how to download Apple Music to MP3 and play offline.
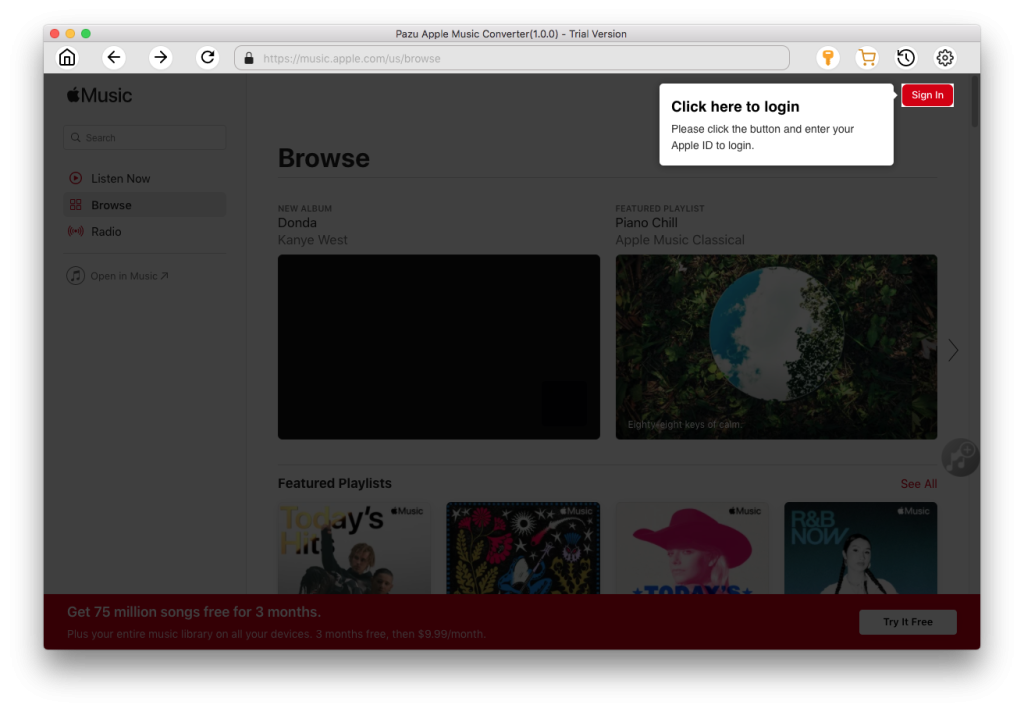
Download, install and run Pazu Apple Music Converter on your Mac or Windows.
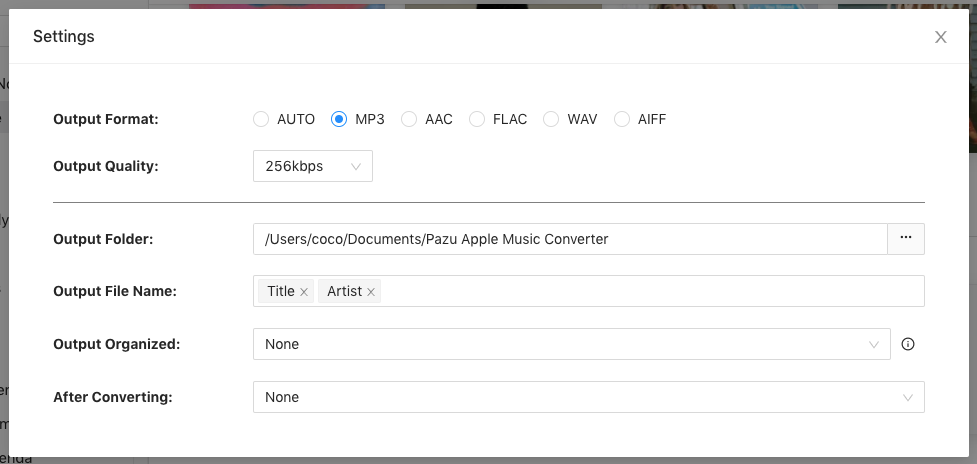
Apple Music Converter also supports M4A, MP3, AAC, FLAC, WAV, and AIFF. Click the gear icon to change the output format, output folder, and more.
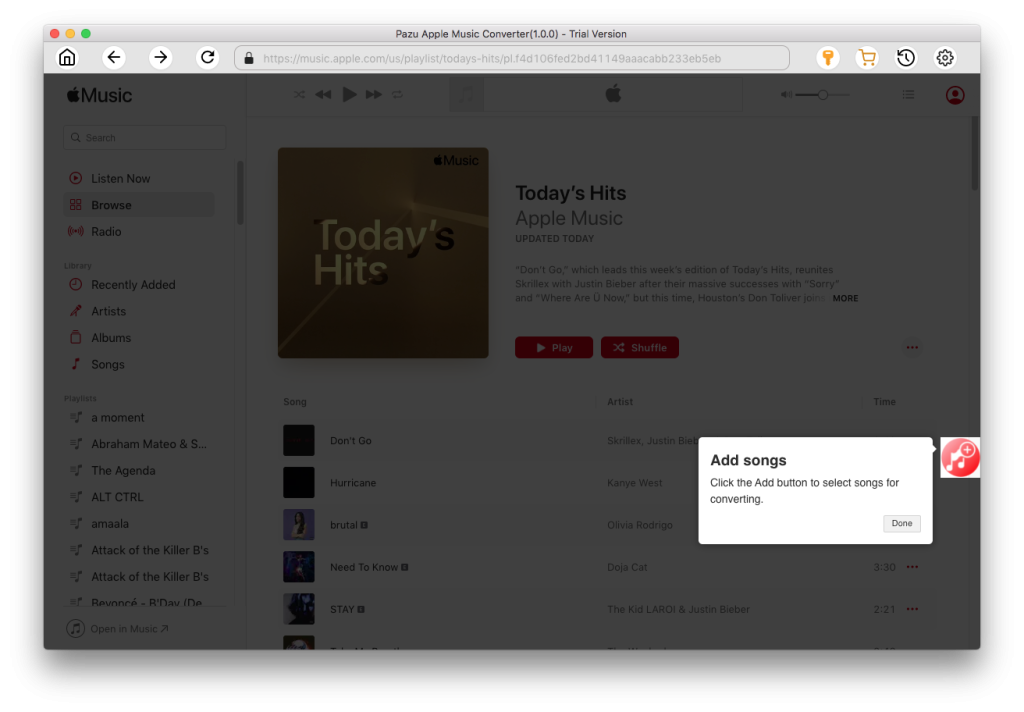
Search for a playlist, artist, or album that you want to download. Click the “Add songs” button to add the tracks to the download list.
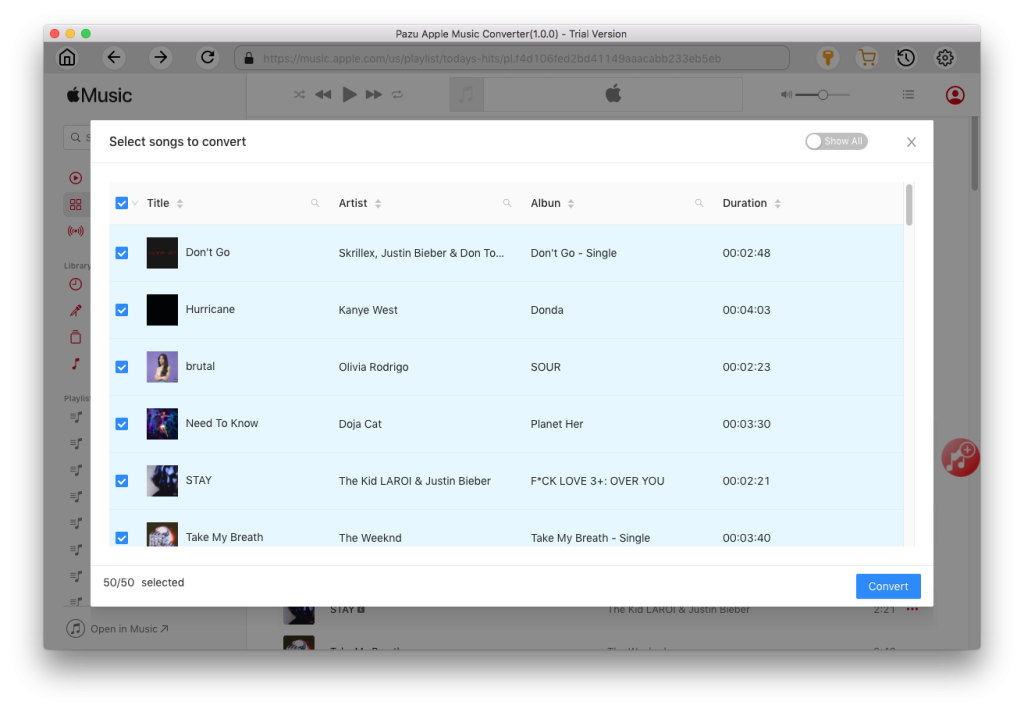
Uncheck the tracks you don’t want to download, then click the “Convert” button to start downloading Apple Music songs, albums, and playlists to MP3. Once done, you can play them anywhere you want, even after canceling your Apple Music subscription.

Download Apple Music to MP3, M4A, etc.