

As an Apple Music subscriber, you can link up to 10 devices (with a maximum of five computers) to your Apple ID. When you turn on the Sync Library feature, you can access your music library on all devices. This provides a consistent listening experience across different devices, with smooth access to playlists, songs in your Library, and listening history. Here’s how to enable Sync Library on different devices, including Mac, Windows, iOS, Android, and more.
Sync Library is a feature that allows Apple Music users to access their music library across multiple devices. It uploads your music library to iCloud, and all the music—whether purchased, added from the Apple Music catalog, or imported from local files—becomes available on other devices connected to your account, creating a unified music experience.
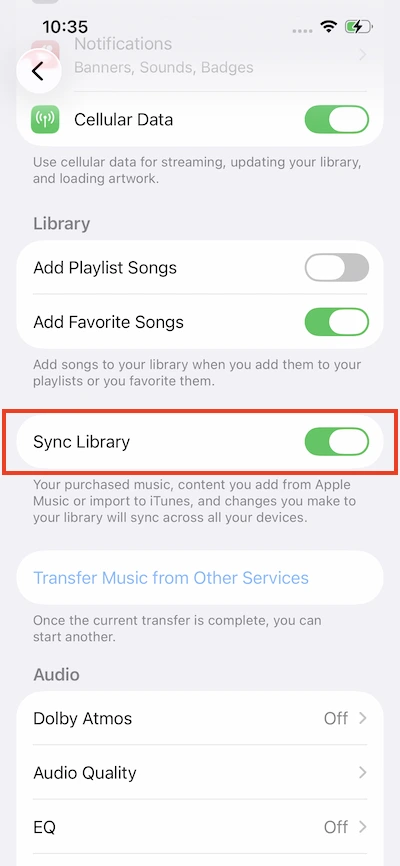
If Sync Library isn’t already enabled on your mobile device, activating it will prompt you with a choice: you can either Merge your local music with your iCloud Library, or Delete & Replace it. Selecting “Delete & Replace” will wipe the local audio files on that device. On a Mac or PC, while your physical local files remain untouched on your hard drive, turning on Sync Library will match your tracks to Apple’s catalog. To prevent any mismatched metadata or accidental deletion of high-quality files, it is crucial to back up your original local music files to an external drive before turning on Sync Library.
Before you start, make sure you are signed in to all your devices with the same Apple Account (Apple ID) that has your active Apple Music or iTunes Match subscription. Without an active subscription, the Sync Library options will not appear.

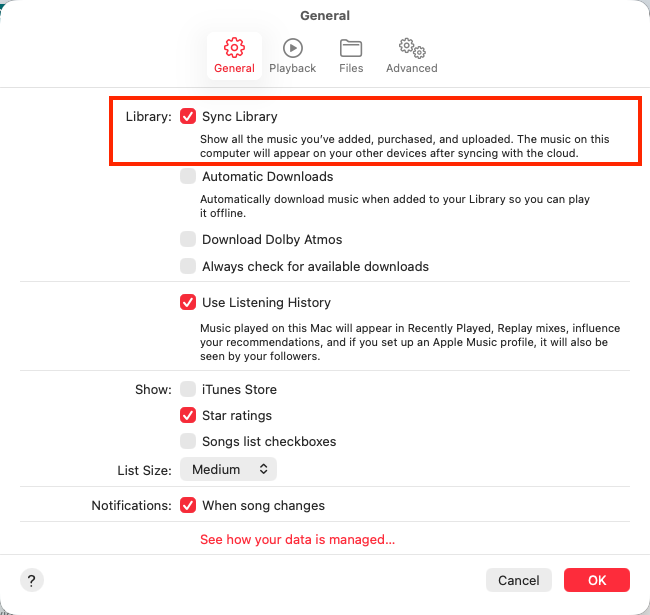
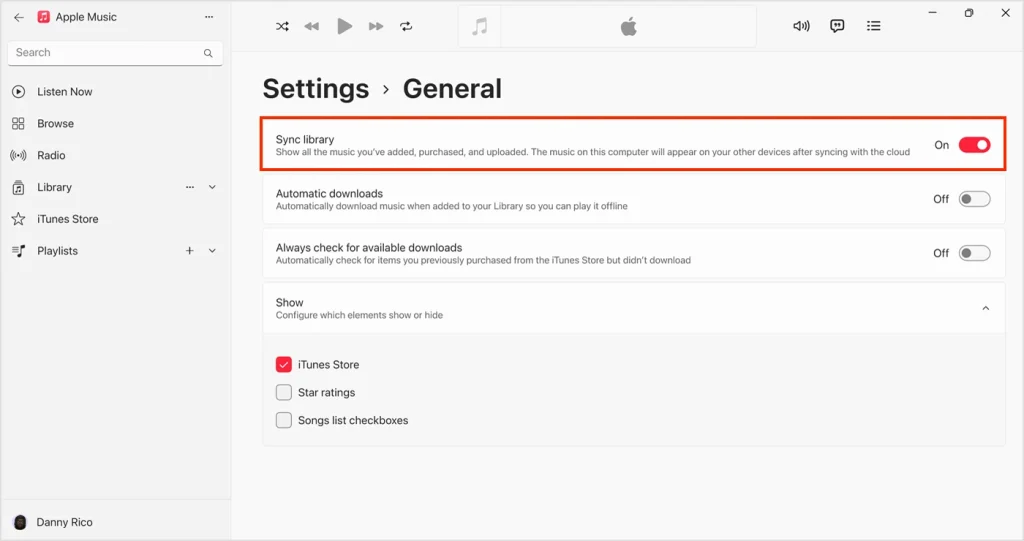
Sync Library is called iCloud Music Library in iTunes for Windows. Follow these steps to enable the iCloud Music Library on your PC.

Although there isn’t a dedicated “Sync Library” option on the Apple Music app on Android, any changes you make within Apple Music on Android will automatically sync with your iCloud library, and vice versa. So you can still benefit from the Sync Library functionality with the Apple Music app on your Android phone and tablet.
To sync your Apple Music library on any device, another option is to download songs and playlists as MP3s with Pazu Apple Music Converter. Then you can transfer the downloaded files to any device. Pazu is a professional and safe tool compatible with both Mac and Windows. It allows you to download Apple Music playlists, albums, and songs to MP3, AAC, FLAC, and other popular formats without compromising on quality. The converter has a remarkably fast download speed—almost 10 times faster than comparable software. With Pazu, you can play your downloaded Apple Music tracks on any supporting device for offline enjoyment.
Follow the tutorial below on how to download Apple Music to MP3 files.
Download, install and run Pazu Apple Music Converter on your Mac or Windows.
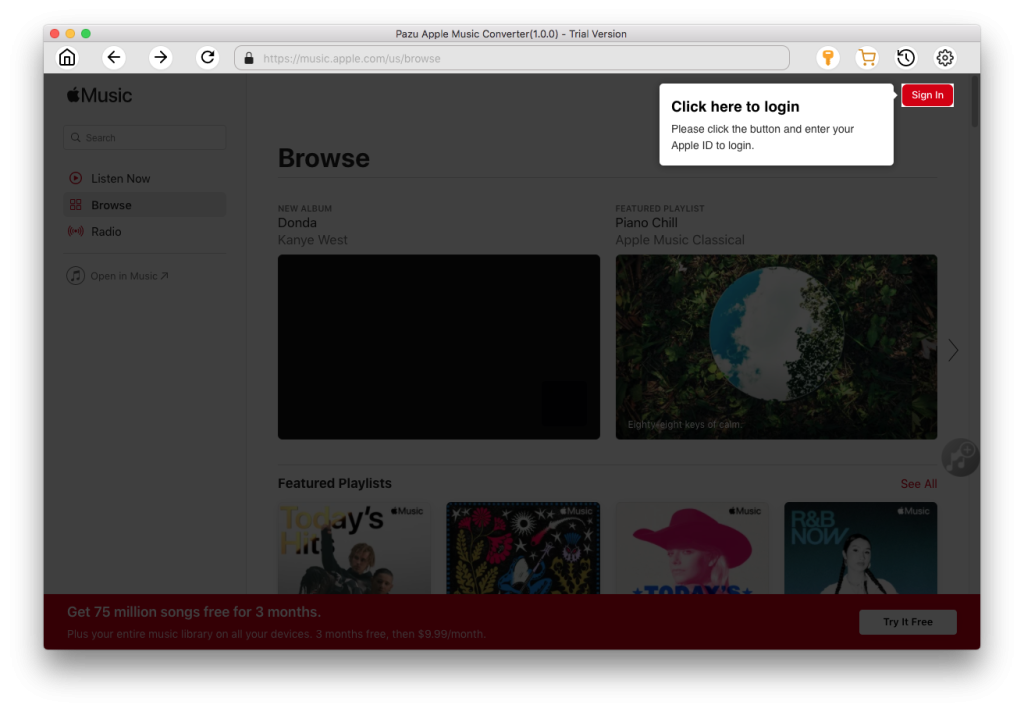
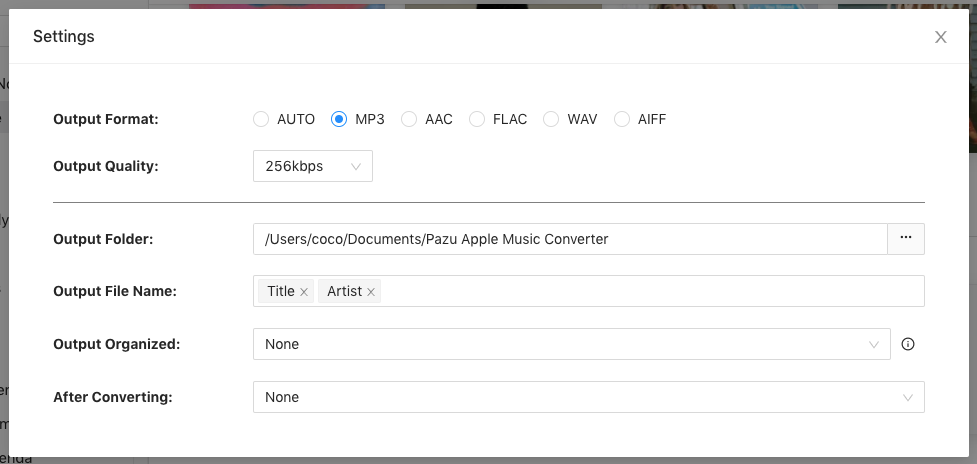
Apple Music Converter supports M4A, MP3, AAC, FLAC, WAV, and AIFF. Click the gear icon if you want to change the output format or output folder.
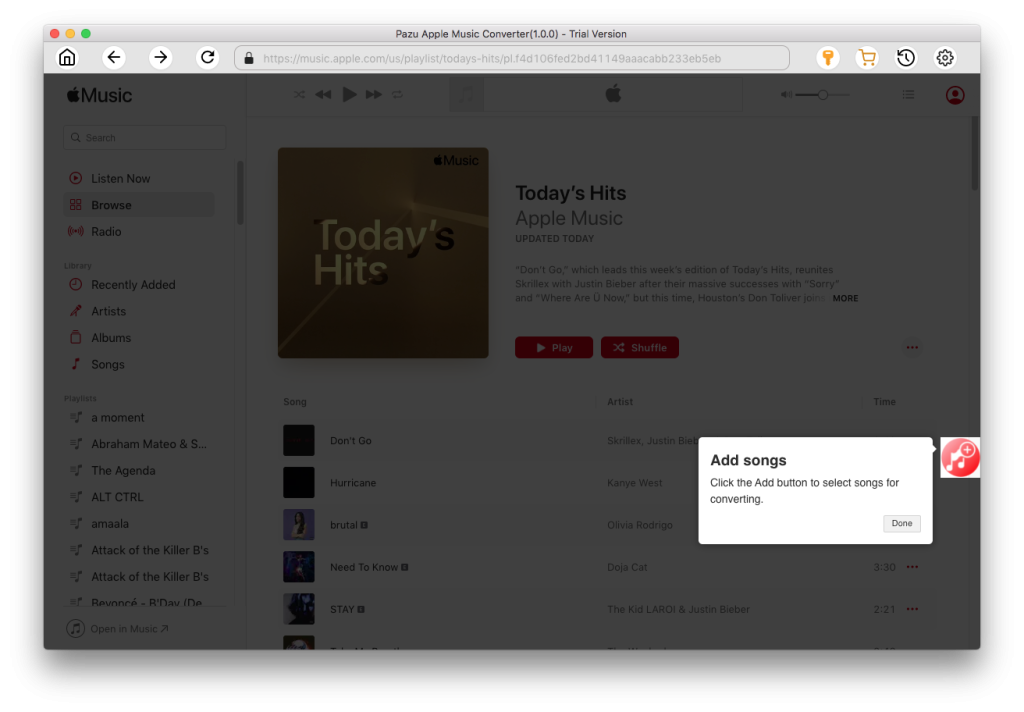
Follow the on-screen instructions to choose a playlist, artist, or album that you want to download. Click the Add Songs button to add them to the download list.
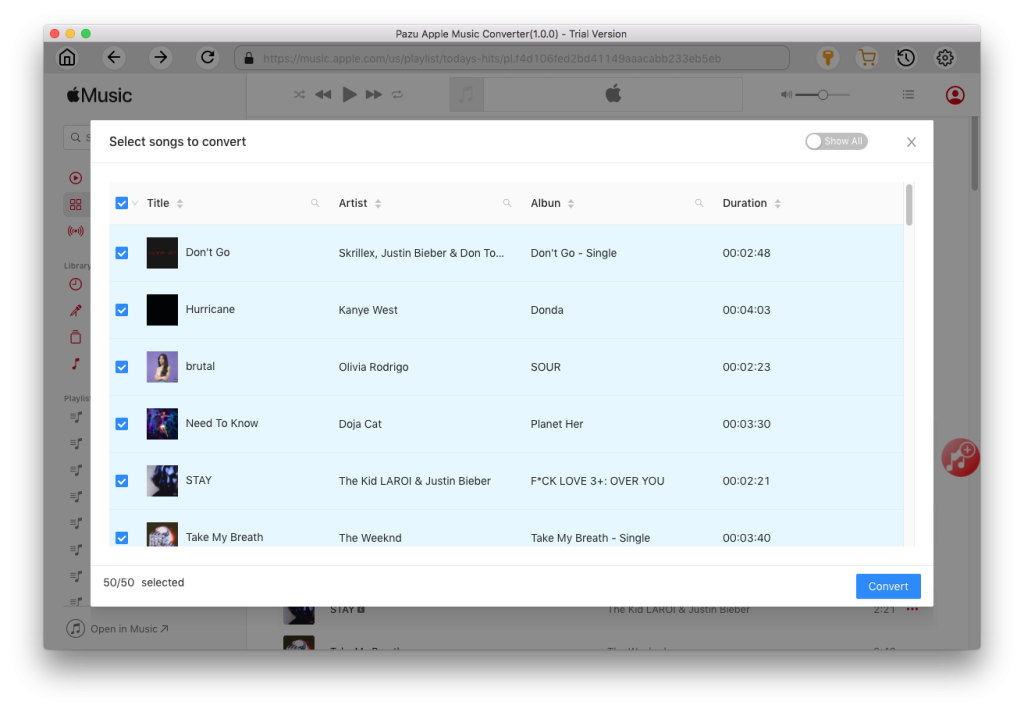
Uncheck the songs you don’t want to download and click the “Convert” button to start downloading Apple Music songs, albums, and playlists to MP3, so you can play them anywhere you want, even after canceling your Apple Music subscription.
After the conversion process is complete, click on the clock icon in the upper right corner to access the converted Apple Music songs. To locate the converted Apple Music songs:

Now that you’ve successfully converted your Apple Music songs to MP3, you can easily transfer and enjoy them across your devices.

Download Apple Music to MP3, M4A, etc.