"I have the newest version of iTunes. Whenever I am browsing the internet any music I am listening to from my personal collection will skip or sputter. If a webpage loads slowly the music will skip like fucking crazy. I've had to download a different music player because it's gotten so annoying. Is there a reason for this and is anyone experiencing this?"
iTunes keeps skipping songs issues can be frequently found on iTunes Communities and Reddit. What to do when you encounter the iTunes skipping songs issue? In the following part, you can find some common solutions to get rid of the issue and an ultimate trick to fix the iTunes skipping songs issue permanently.
Why is your Apple Music skipping? One possible reason is that the song files are corrupt or unsupported. The issue could also appear if something interrupts the sync process when you try to sync songs. Sometimes, you might find out that the problem comes from Apple ID or Apple servers. If you want to resolve this issue immediately, follow these steps to fix it:
Double click the song and see what iTunes says.


The most common reason why iTunes won’t play the next song might be your bad internet connection. You can check the internet and see if it works while using other apps. If you can visit other apps just fine, the problem is iTunes, and you can try the following solutions.
You should make sure that you are using the same Apple ID while signing in the Apple Music on your iOS device and iTunes app on your computer. iTunes keeps skipping songs issue might happen if you are not using the same Apple ID.
On your iPhone, iPad, iPod touch, or Android device
1. Open the Apple Music app and tap Listen Now.
2. In the upper-right corner, tap the photo icon.
3. Sign in with your Apple ID and password.
On your Mac or PC
1. Open the Apple Music app or iTunes.
2. In the menu bar at the top of your screen, choose Account > Sign In.
3. Sign in with your Apple ID and password.
If the sync or download process was interrupted, the tracks won’t be playable. You can try to delete the tracks from your library first and sync them again. This might help to fix the iTunes keeps skipping songs issue.
1. On your Mac, hover your pointer over the item, then click the More options button that appears.
Or on your iPhone, iPad, or Android phone, press and hold the item that you want to delete.
2. Tap or click Remove.
3. From the menu that appears, choose Remove or Remove Download. Or choose "Delete from Library" to remove the item from all devices that you use with Apple Music.
On your iPhone, iPad, or iPod touch
1. Go to Settings > Music.
2. Turn on Sync Library. If you don't subscribe to Apple Music or iTunes Match, you won’t see an option to turn on Sync Library.
On your Mac
1. Open the Apple Music app.
2. From the menu bar at the top of your screen, choose Music > Preferences.
3. Go to the General tab and select Sync Library to turn it on. If you don't subscribe to Apple Music or iTunes Match, you won’t see an option to turn on Sync Library.
4. Click OK.
On your PC with iTunes for Windows
In iTunes for Windows, iCloud Music Library isn't turned on by default. To turn on iCloud Music Library:
1. Open iTunes.
2. From the menu bar at the top of your screen, choose Edit > Preferences.
3. Go to the General tab and select iCloud Music Library to turn it on. If you don't subscribe to Apple Music or iTunes Match, you won’t see an option to turn on iCloud Music Library.
4. Click OK.
If you have a large music library, it might take some time to upload and sync your music library across all of your devices.
After you add music to your library, you can download it to your device to listen to offline. Just follow the steps below for your device.
On your iPhone, iPad, iPod touch, or Android device
1. Open the Apple Music app.
2. Touch and hold the song, album, or playlist that you've added from Apple Music.
3. Tap Download.
You can also download a song by swiping left over the song and tapping the Download button Download arrow button .
On your Mac or PC
1. Open the Apple Music app or iTunes.
2. Find the music that you've added from Apple Music.
On your Mac, click the Download button next to a song or album.
On your PC, click the Download button next to a song or album.
You May Like:
If the problem still persists after you tried all solutions above. You can try the following solution to fix the iTunes keeps skipping songs issue permanently.
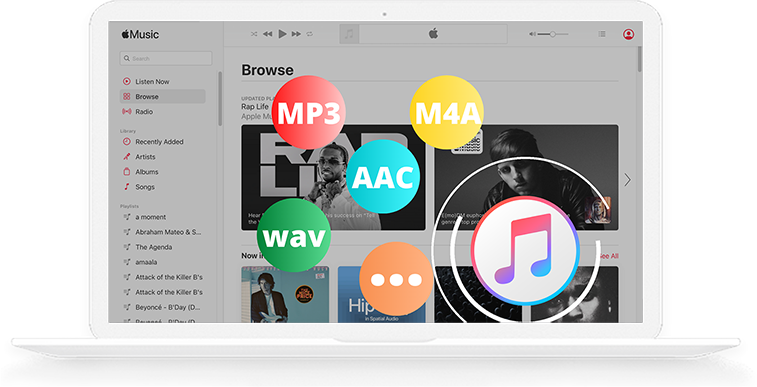
You can download and save Apple Music songs to your computer. When the iTunes app goes wrong again, you can play them on other devices or players. Due to the Digital Right Management, you cannot play these iTunes songs on common music players except Apple's own devices. Pazu Apple Music Converter is the ultimate solution to remove DRM from Apple Music. It also can convert them to any common format such as MP3, AAC, M4A, FLAC. After stripping off DRM from the iTunes music with Pazu Apple Music Converter , you can freely enjoy all your Apple Music songs on any device without the skipping issue. Here are the steps that you need to follow if you opted to use the professional Apple Music downloader.
Step By Step Process to use Pazu Apple Music Converter
Download, install and run Ondesoft Apple Music Converter on your Mac or Windows. Click the key icon to activate the full version if you have purchased a license, otherwise you can only use the trial version.
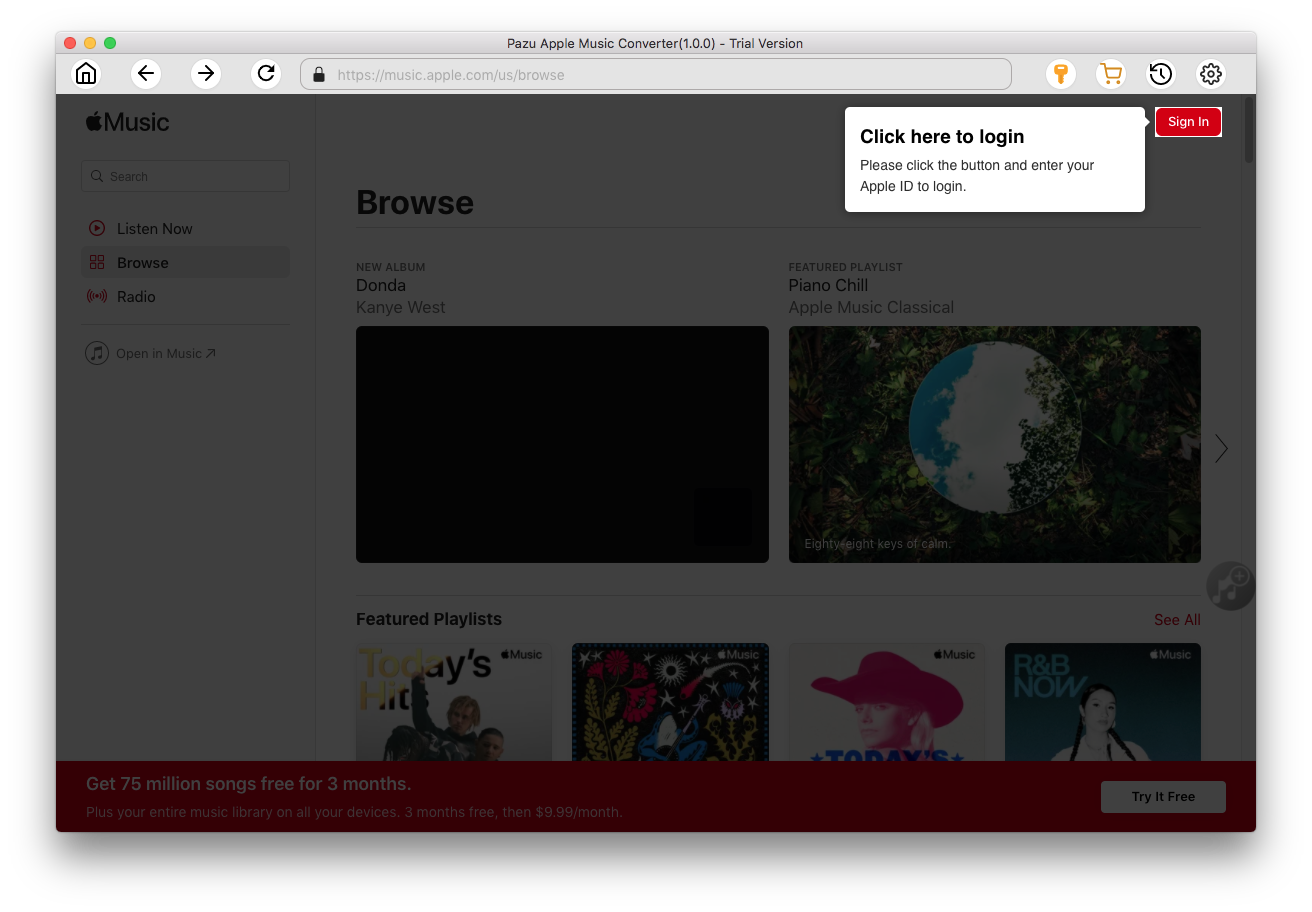
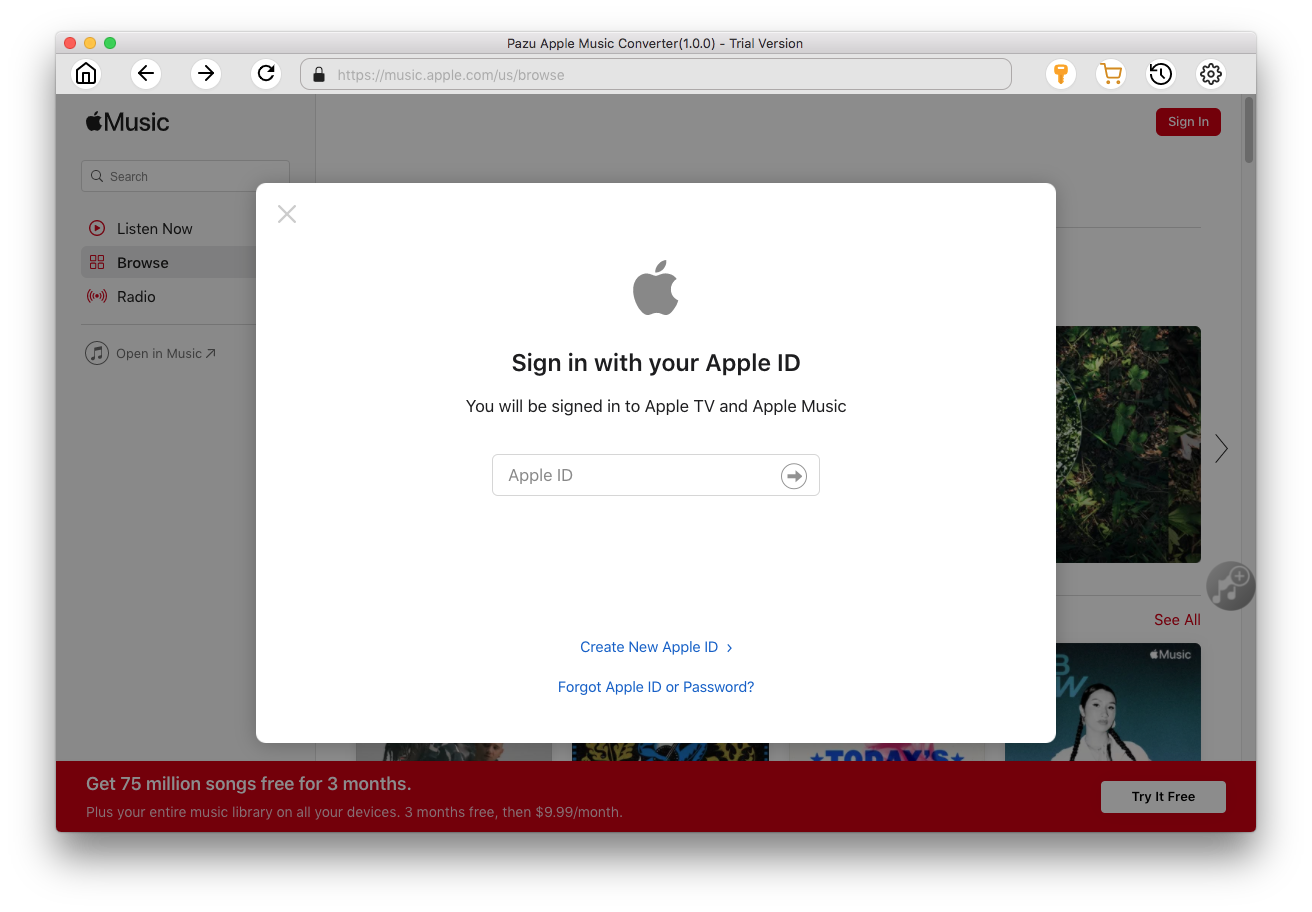
Follow the on-screen instructions to sign in with your Apple ID.
The default format is M4A in 256kbps. Apple Music Converter also supports MP3, AAC, FLAC, WAV and AIFF. Click the Settings icon if you want to change output format or output folder.

Here you can also customize song name format with any combination of Playlist Index, Track Number, Title, Artist and Album.
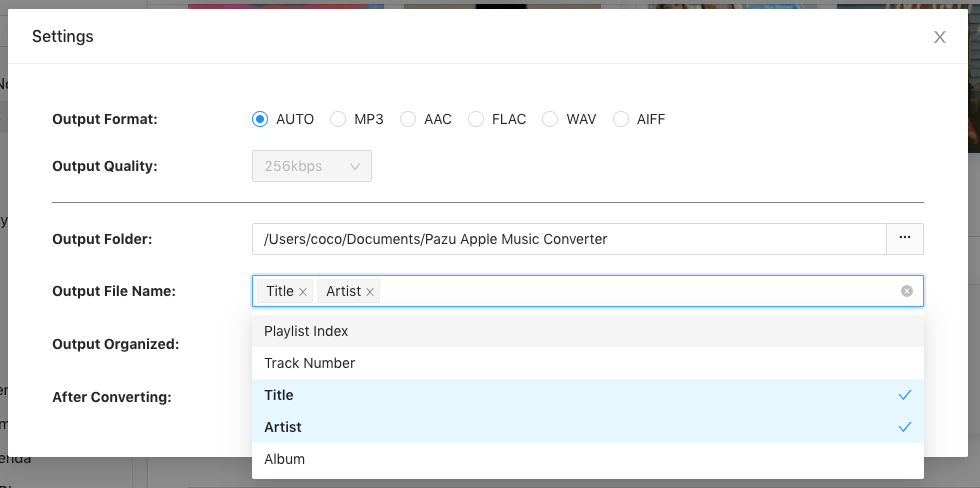
Or set Ondesoft Apple Music Converter to archive output song with Artist, Album, Artist/Album or Album/Artist.
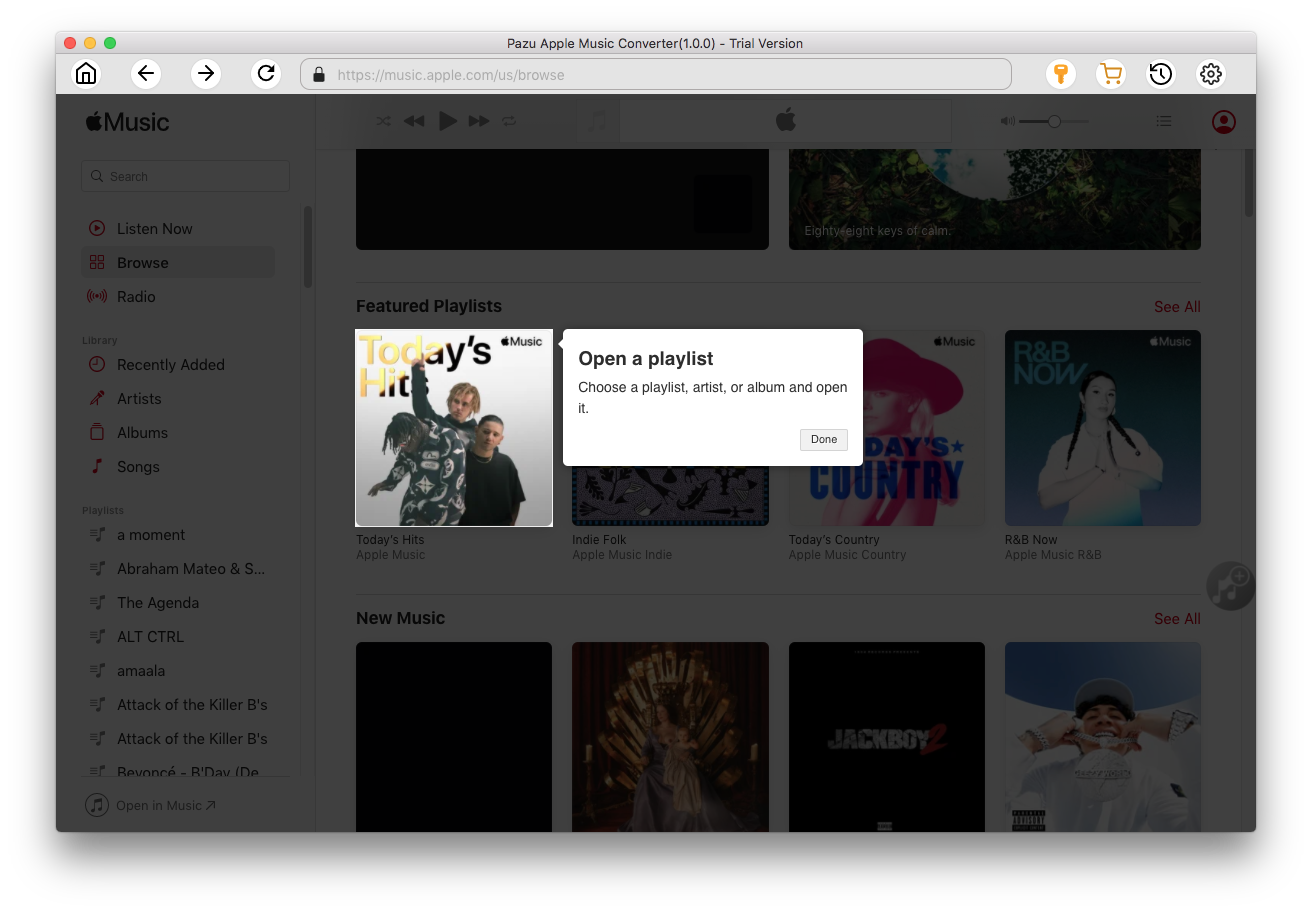
Follow the instructions to choose a playlist, artist, or album that you want to download.
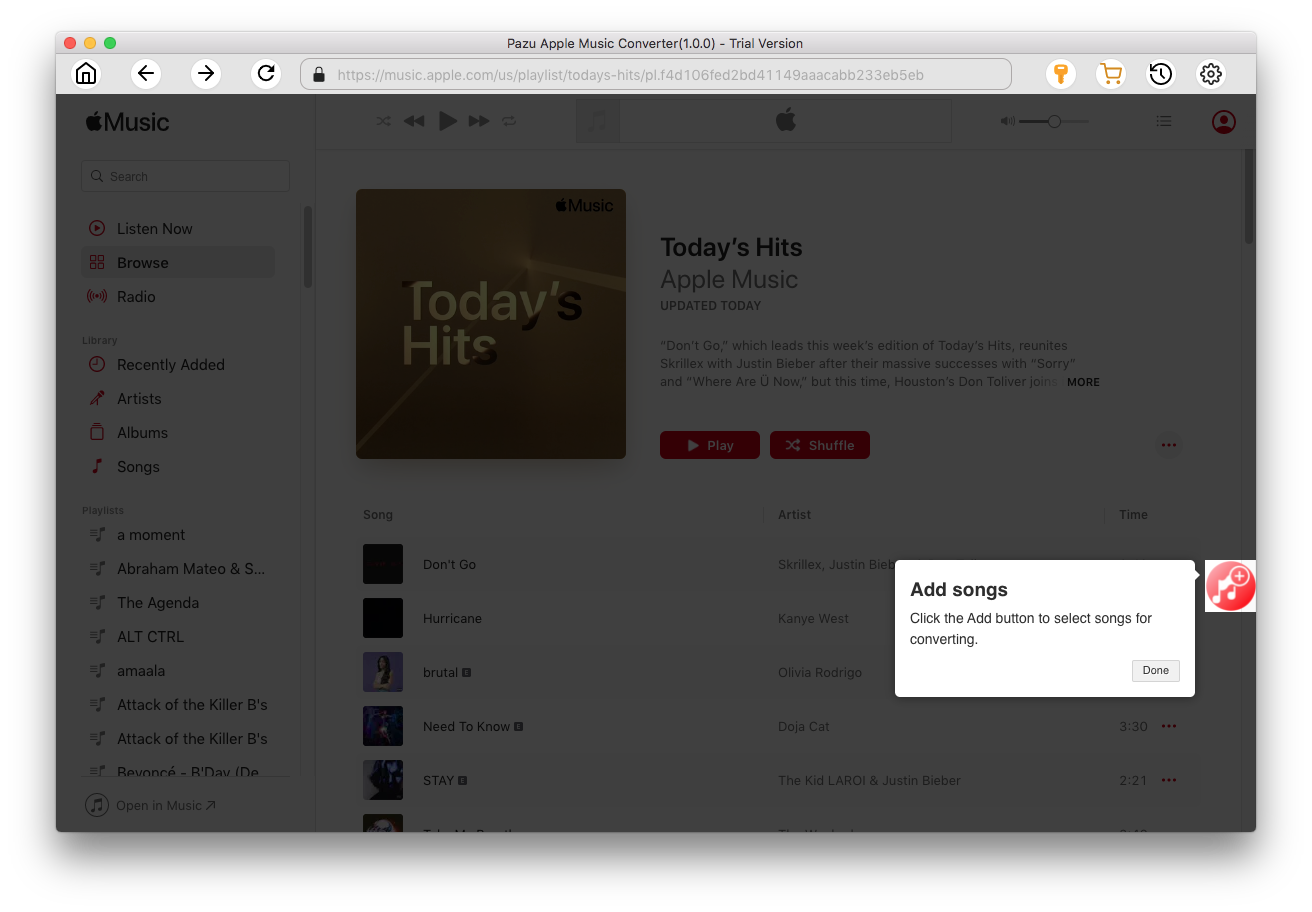
Click the Add button to select songs for converting.
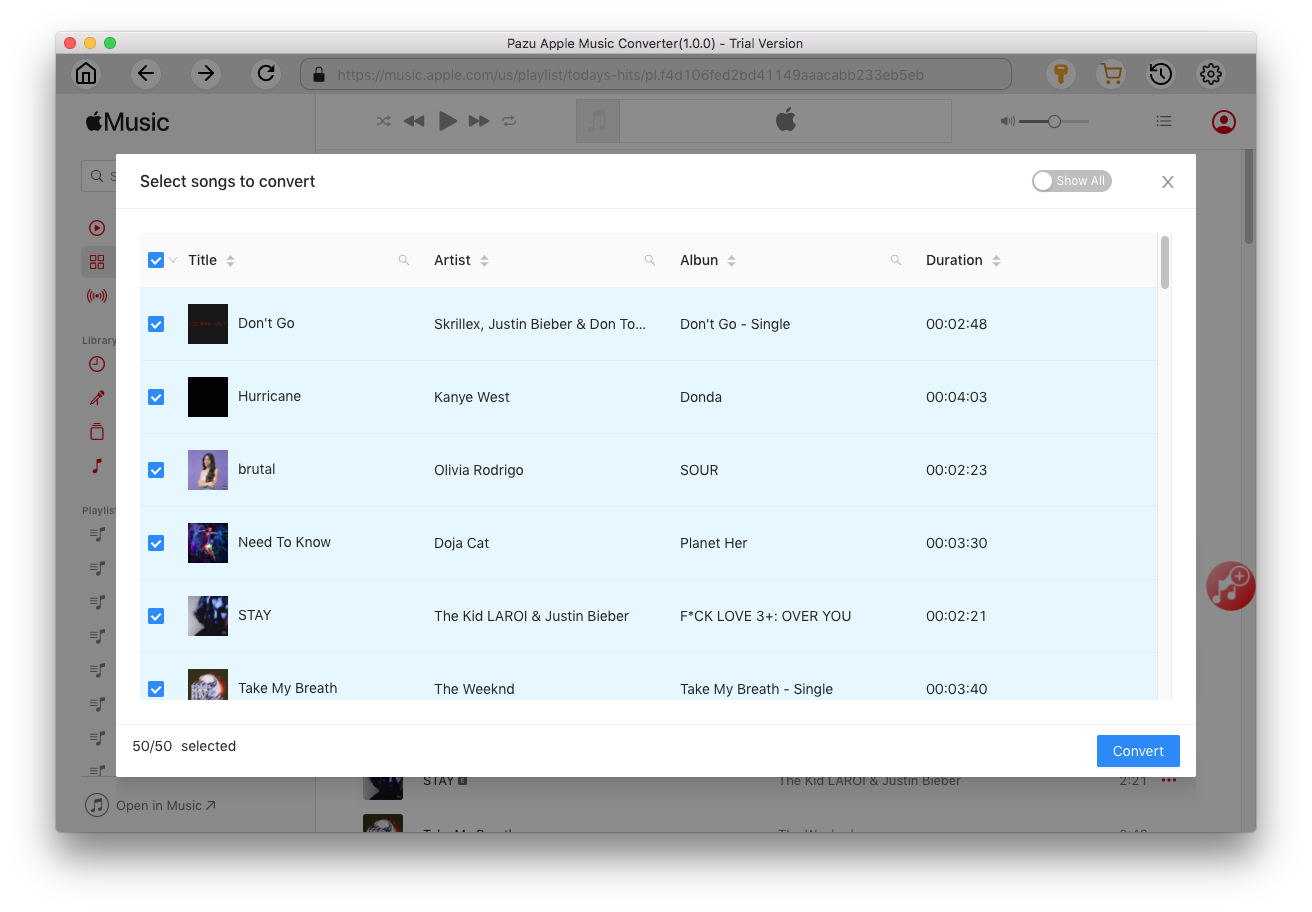
All songs in the playlist or album are selected by default. Uncheck the songs you don't want to download if there are any, then click Convert button.
If you are using the trial version, you will get below pop-up window indicating trial version limitations, just click Try if you haven't purchased a license.
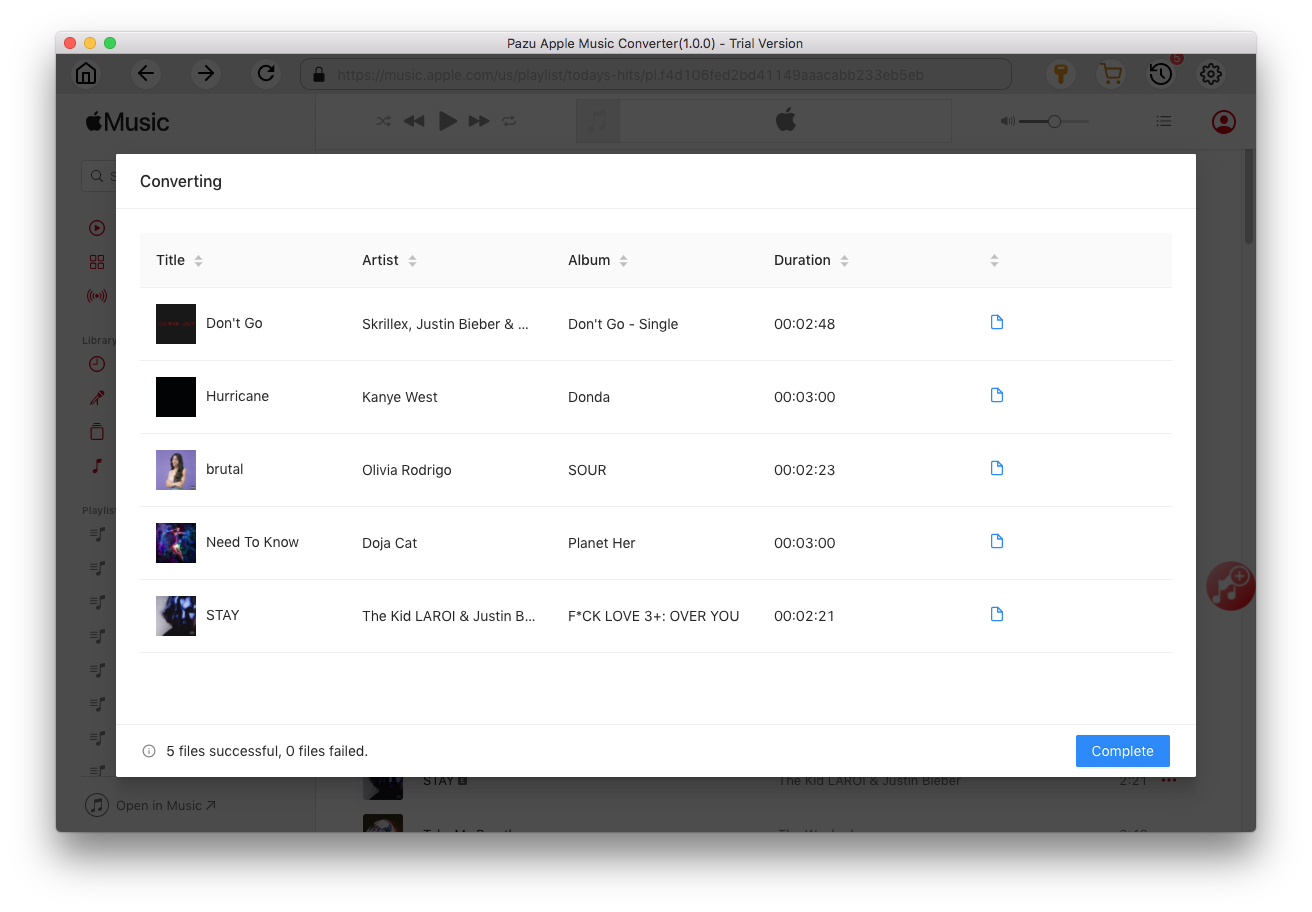
The songs you selected will be downloaded to the format you want.
After conversion, click the folder icon to quickly locate the DRM-free Apple Music songs.
Click the History icon to view all downloaded songs. You can check them by converted date, artist or album.

Download Apple Music to MP3, M4A, etc.