With Family Sharing, you and up to five other family members can share access to amazing Apple services like iCloud+, Apple Music, Apple TV+, Apple Fitness+, Apple News+, and Apple Arcade. Your group can also share iTunes, Apple Books, and App Store purchases, and a family photo album. You can even help locate each other’s missing devices. Each family member uses their own account, so everyone’s experience stays personalized and private. Click here to Set up Family Sharing and add someone to Apple Music . .
You can share content that you purchase from Apple including music, movies, tv shows, apps, and books. You can also share your Apple subscriptions including Apple One. If the subscription is an individual or student subscription, upgrade your subscription to a family plan. If a subscription is shareable, you see a Share with Family option when you go to Settings > [your name] > Subscriptions and tap the subscription.
Before sharing your subscription with others, you'll have to sign up for Apple Music's Family Plan. The subscription costs $16.99 per month, as opposed to the regular $10.99 subscription.
If you can't share Apple Music with Family Sharing members, here are some solutions for your reference.
Check your Family Sharing settings to make sure that you're signed in with the correct Apple ID.
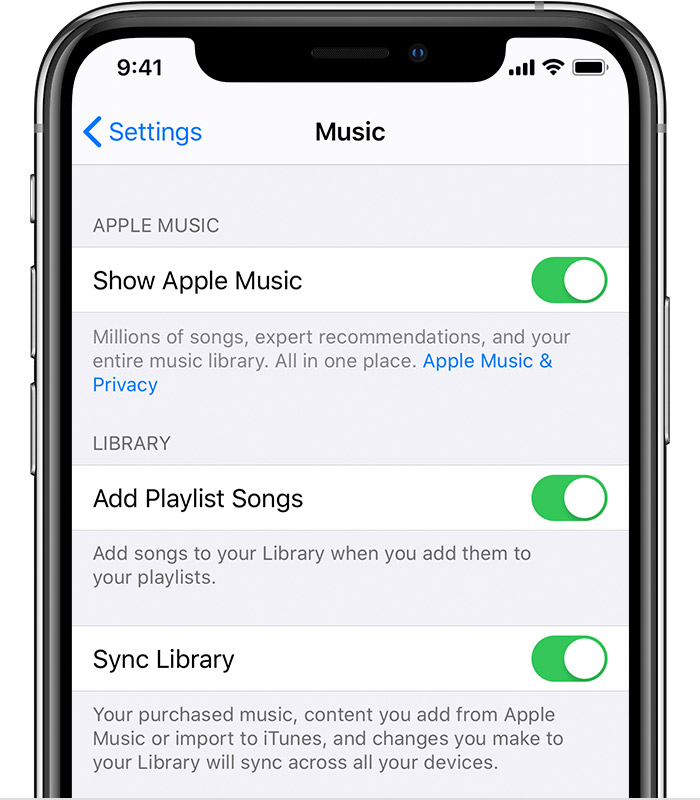
On your iPhone, iPad, or iPod touch
On your Mac
To share Apple Music with Family, you need to have a Family subscription. Individual and student subscription are not qualified.
Try signing out of your accounts on your devices, then signing back in.
On your iPhone, iPad, or iPod touch
On your Mac
On your PC with iTunes for Windows
The organizer of a Family Sharing group can remove other members.
On your iPhone, iPad, or iPod touch
On your Mac
On macOS Mojave or earlier
You May Like:
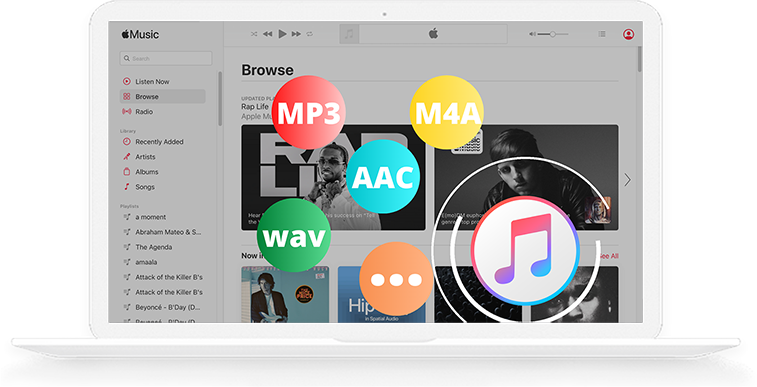
Pazu Apple Music Converter can encode all protected Apple Music files to MP3, AAC, FLAC, M4A, WAV, and FLAC without Music or iTunes app. In addition, you can convert Apple Music files to M4A at 30X faster speed. After conversion, you can keep all the songs and playlists in your Apple Music library forever, even if you later unsubscribe from the service. It's worth mentioning that the output quality created by this tool is as excellent as CD quality. And all original ID3 tags can be preserved to convert M4P to MP3 files.
Step By Step Process to use Pazu Apple Music Converter
Download, install and run Ondesoft Apple Music Converter on your Mac or Windows. Click the key icon to activate the full version if you have purchased a license, otherwise you can only use the trial version.
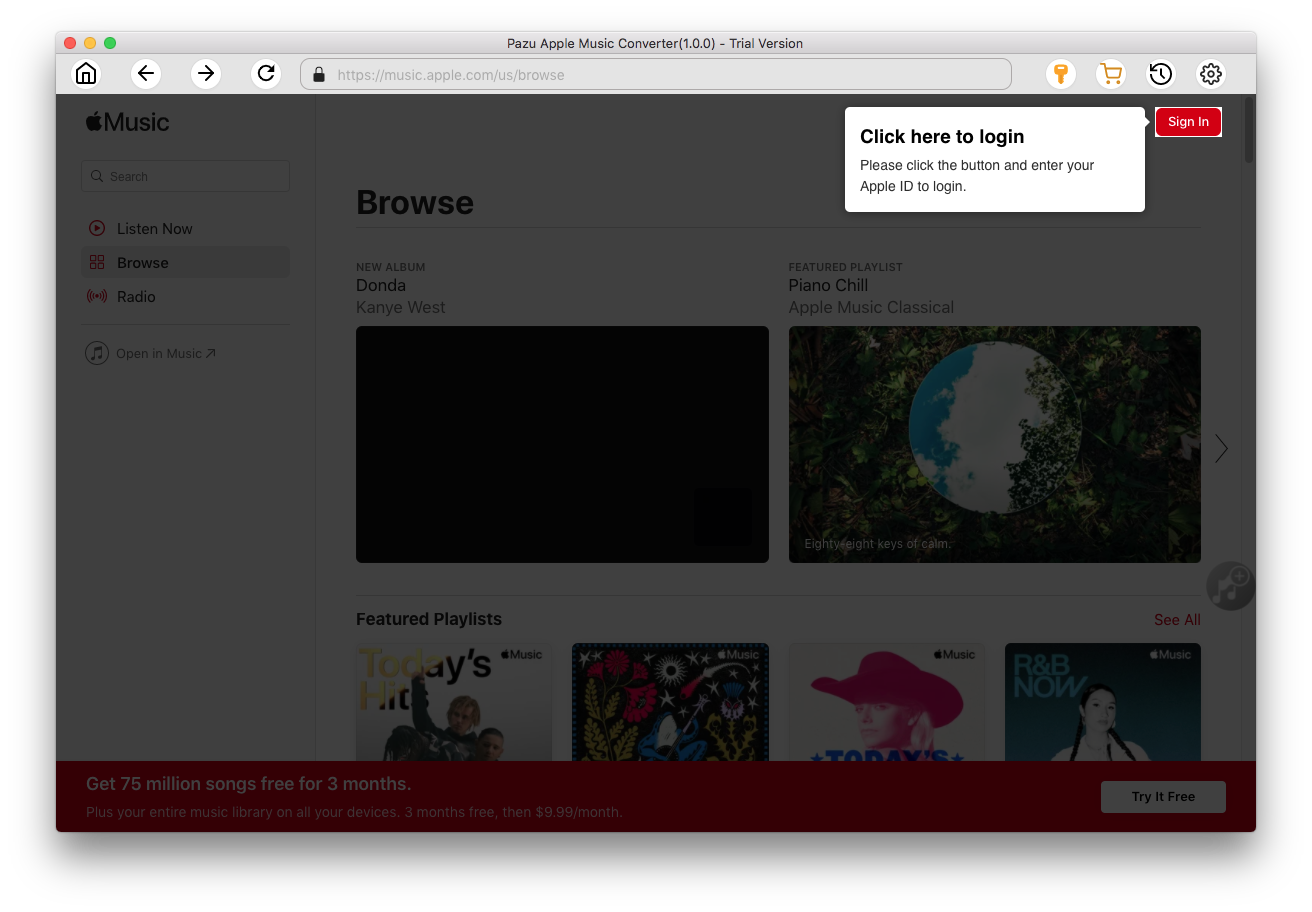
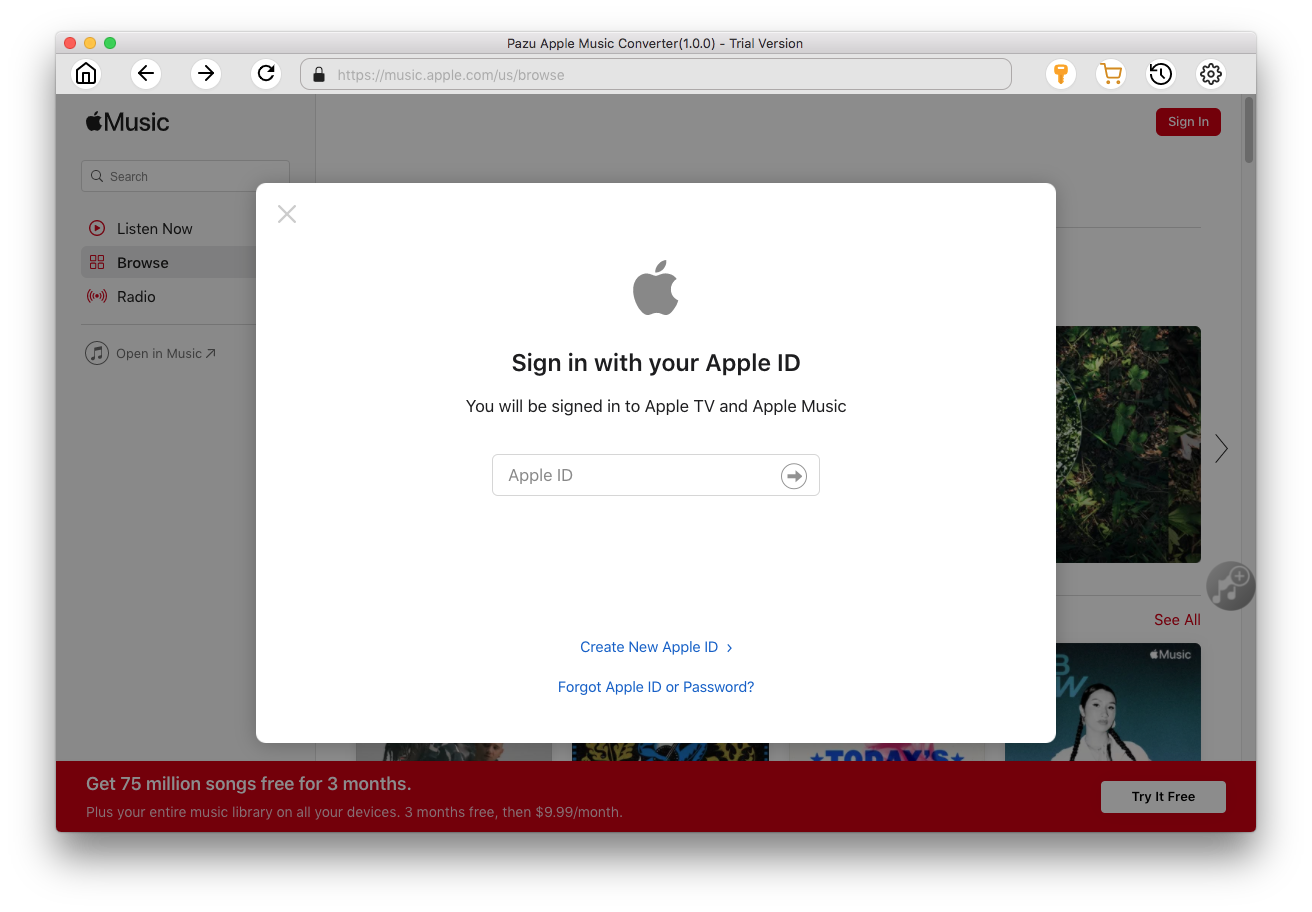
Follow the on-screen instructions to sign in with your Apple ID.
The default format is M4A in 256kbps. Apple Music Converter also supports MP3, AAC, FLAC, WAV and AIFF. Click the Settings icon if you want to change output format or output folder.

Here you can also customize song name format with any combination of Playlist Index, Track Number, Title, Artist and Album.
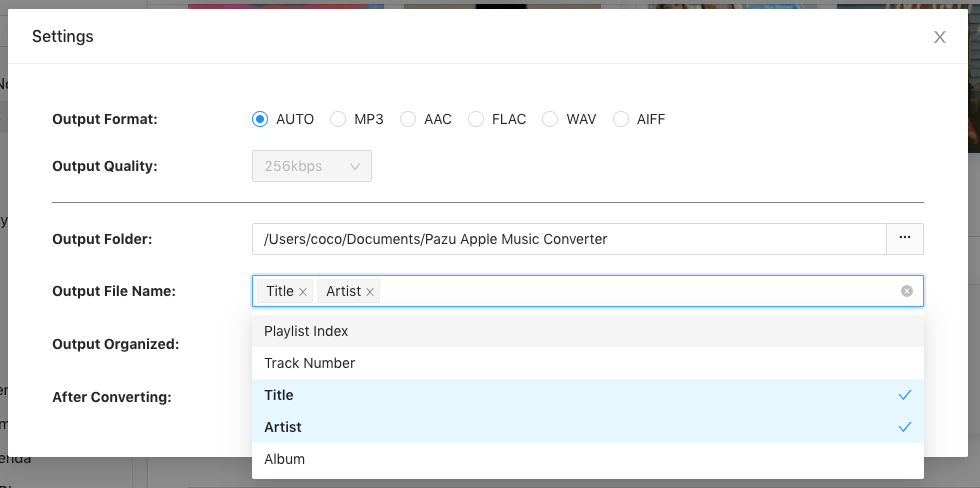
Or set Ondesoft Apple Music Converter to archive output song with Artist, Album, Artist/Album or Album/Artist.
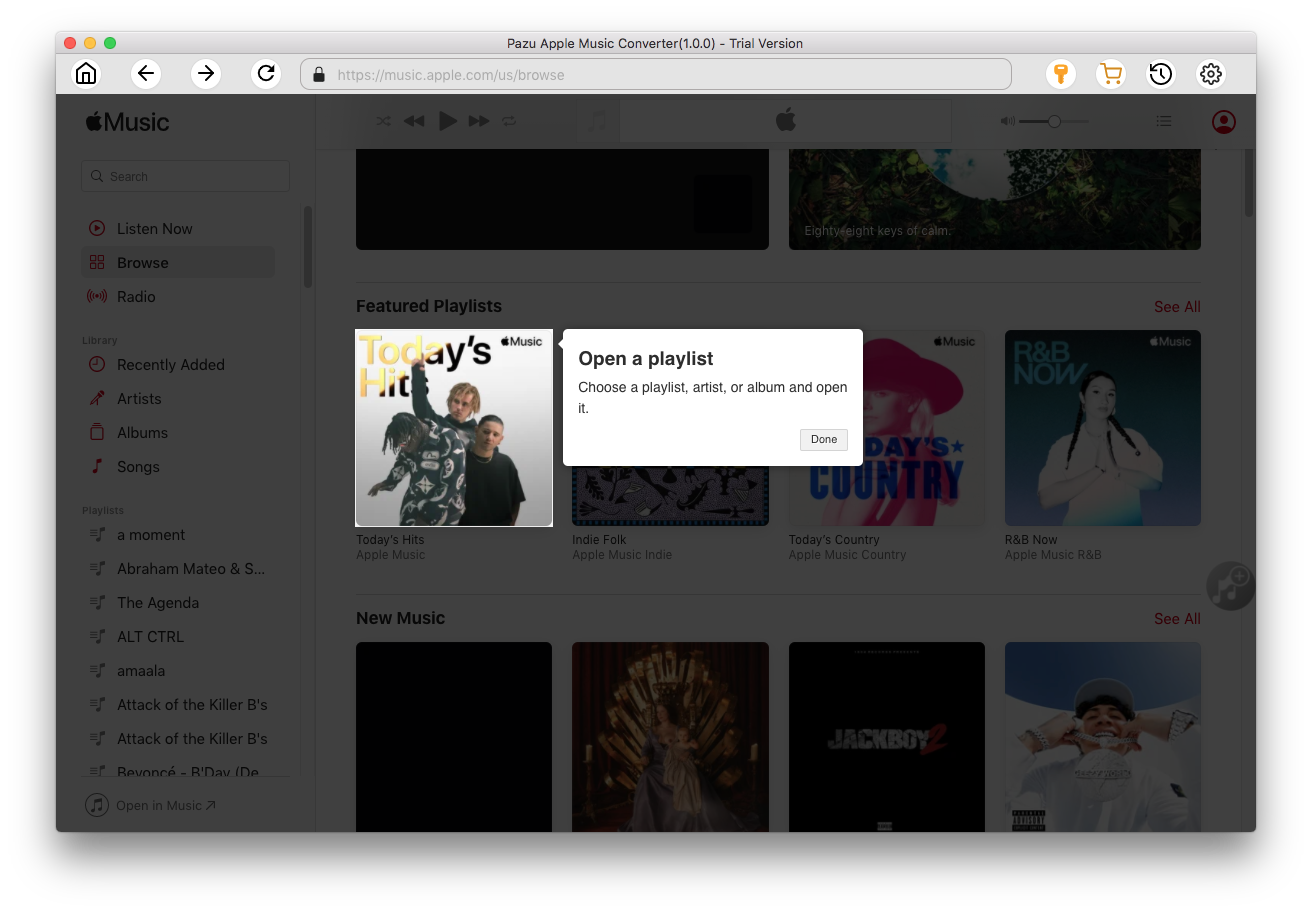
Follow the instructions to choose a playlist, artist, or album that you want to download.
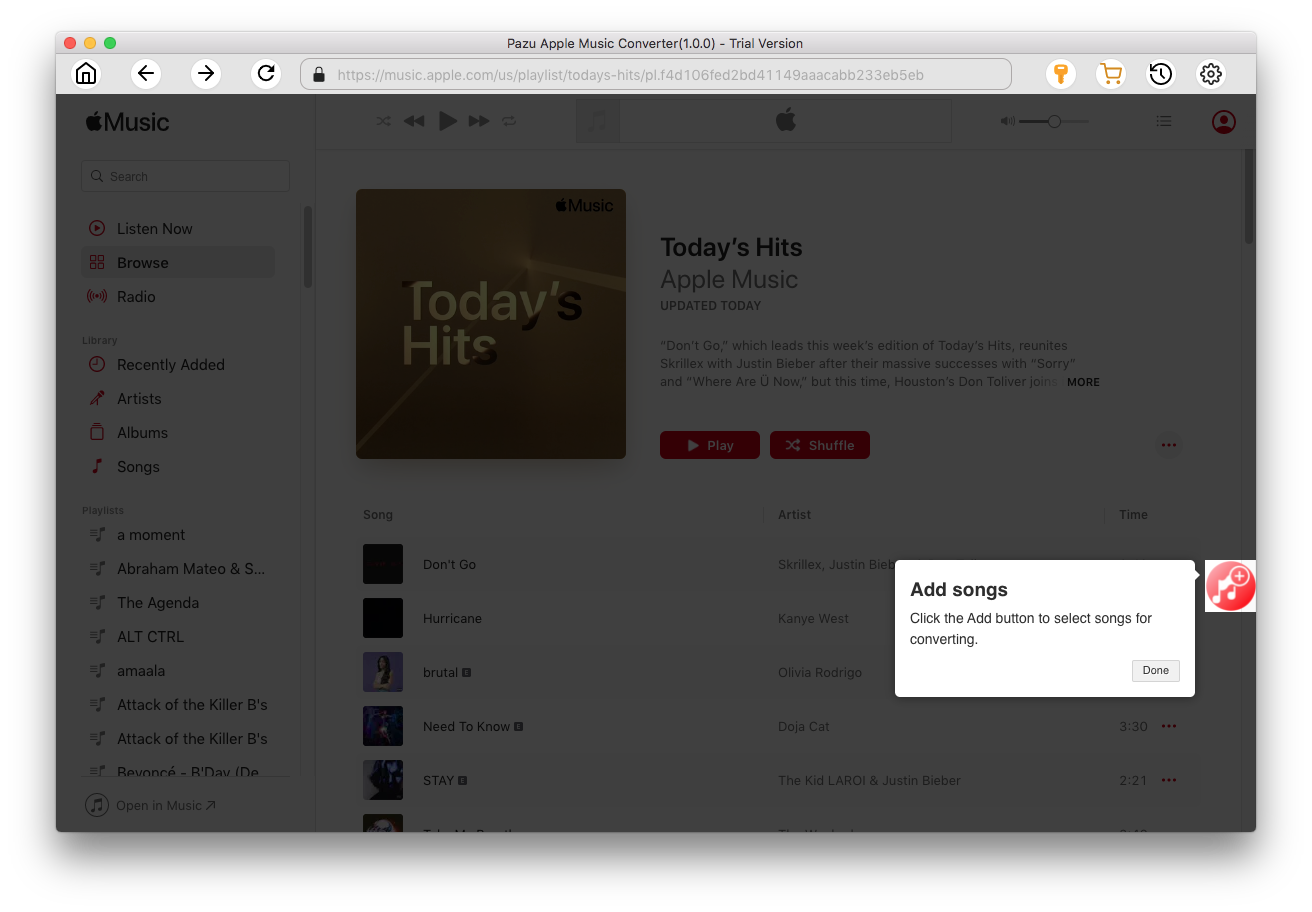
Click the Add button to select songs for converting.
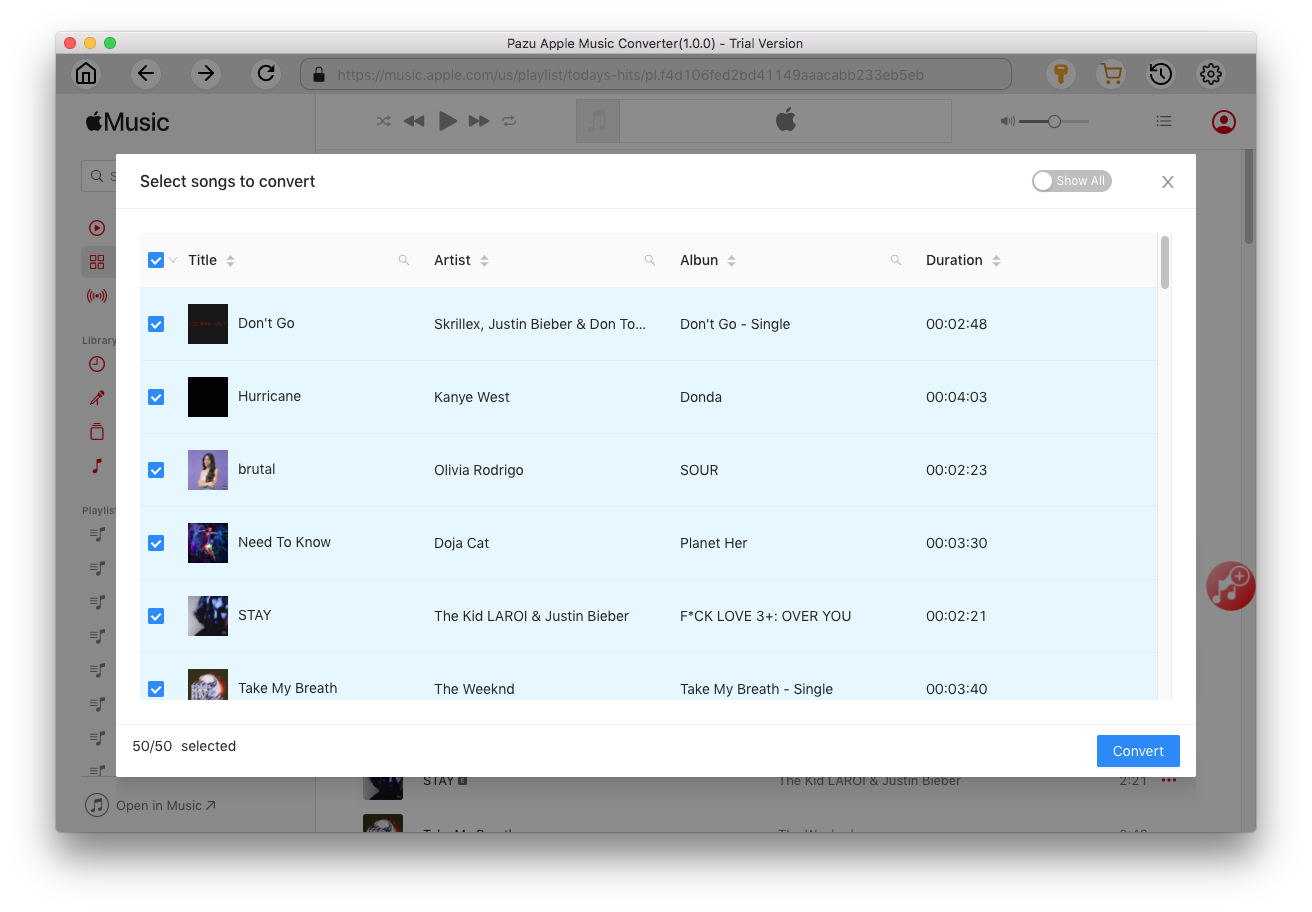
All songs in the playlist or album are selected by default. Uncheck the songs you don't want to download if there are any, then click Convert button.
If you are using the trial version, you will get below pop-up window indicating trial version limitations, just click Try if you haven't purchased a license.
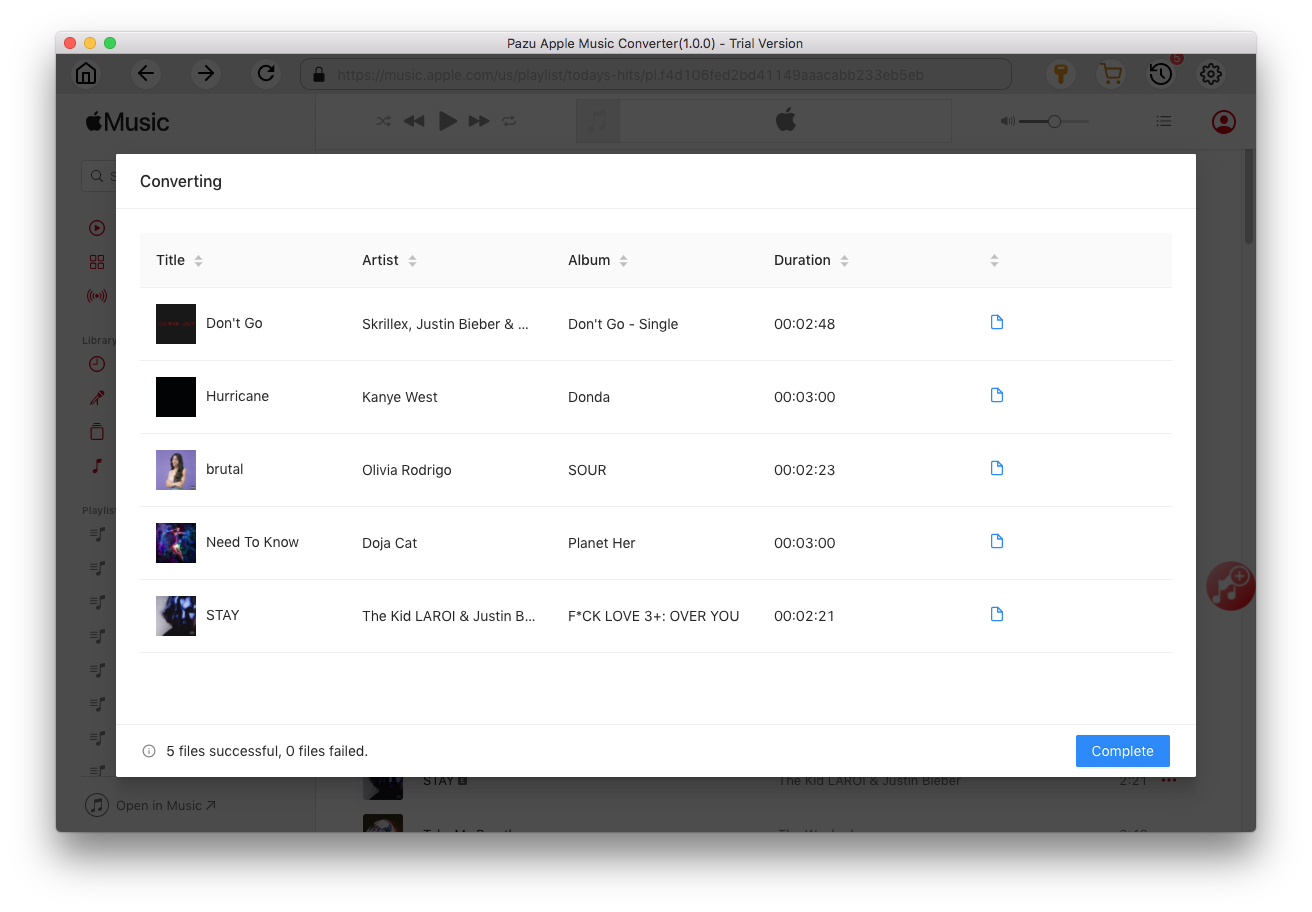
The songs you selected will be downloaded to the format you want.
After conversion, click the folder icon to quickly locate the DRM-free Apple Music songs.
Click the History icon to view all downloaded songs. You can check them by converted date, artist or album.

Download Apple Music to MP3, M4A, etc.