Have you ever heard of Kodi? Kodi is an open source media player that helps you organize and manage files such as music, photos, podcasts, movies, TV shows and slideshows. What’s more, Kodi can help you access content that can be found on the Internet. It has many features that are very easy to use, and Kodi can become your multimedia center.
Spotify is the most popular and well-known online music streaming service, offering an excellent service to many music lovers around the world. Bringing them together will eventually become one of the best ideas that music lovers could wish for.
However, Spotify songs are encrypted in OGG Vorbis format, and Kodi doesn’t support OGG Voribs format. There is no direct way to play Spotify on Kodi. If you want to listen to Spotify on Kodi, you have to download Spotify music using a third party tool.
Pazu Spotify Converter can easily download music from Spotify to MP3/M4A/WAV/FLAC/OGG/AIFF . It can retain the 100% lossless quality while downloading music from Spotify. You are able to change the bitrate of the downloaded songs to 320 Kbps to get the best sound quality. Here is a simple tutorial on how to use Pazu Spotify Converter to download Spotify songs and play them on Kodi.

Download, install and run Pazu Spotify Converter on your Mac or Windows. Log in your Spotify account with the built-in Spotify web player.

Browse songs, albums or playlists you want to download from the built-in Spotify web player.
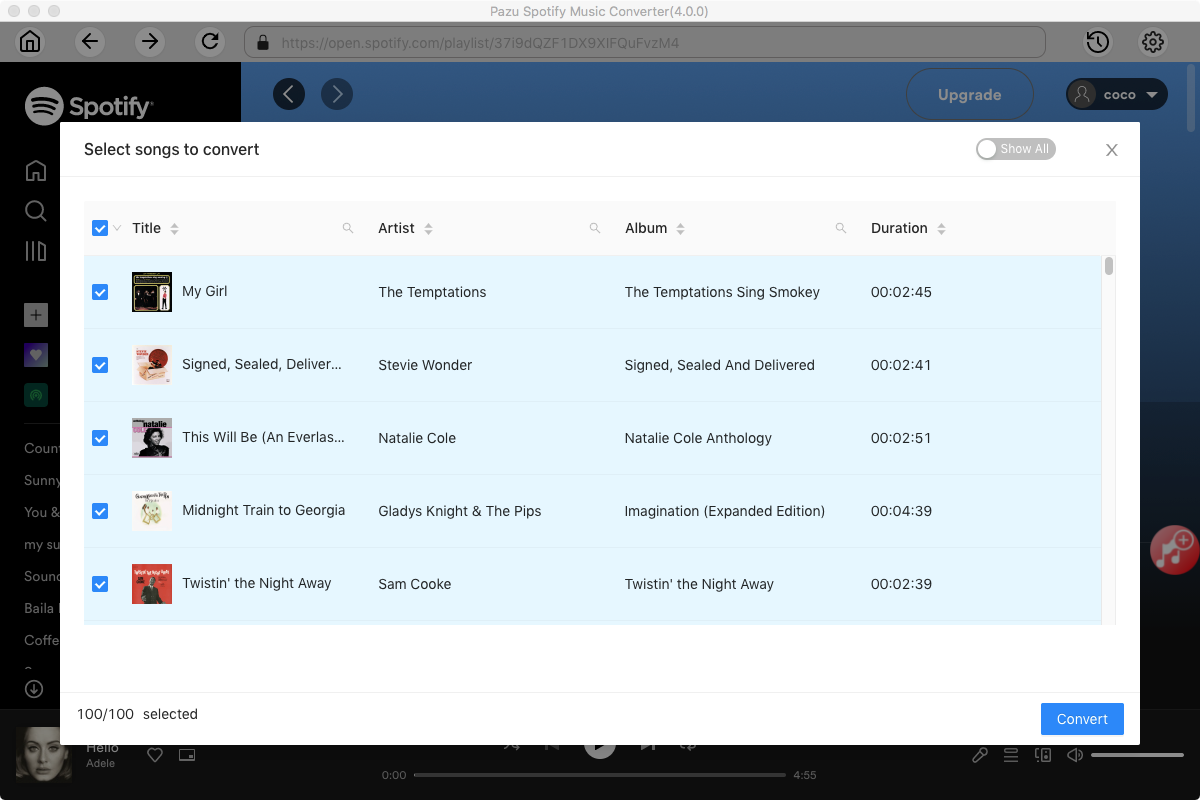
Now, click on the Settings cogwheel from the top-right corner to select the output format. On Auto mode, it will save the file in M4A format. For MP3 and AAC, you can also set the output quality, depending on the song. You may also change the output folder, the title, and the organizing criteria.

Click the Convert button to start downloading Spotify songs in MP3 format.

Once the conversion is done, click the folder icon to find the converted Spotify songs.

How to Add Music to Kodi Library?
Step 1: On the Home menu select Music from the menu items.
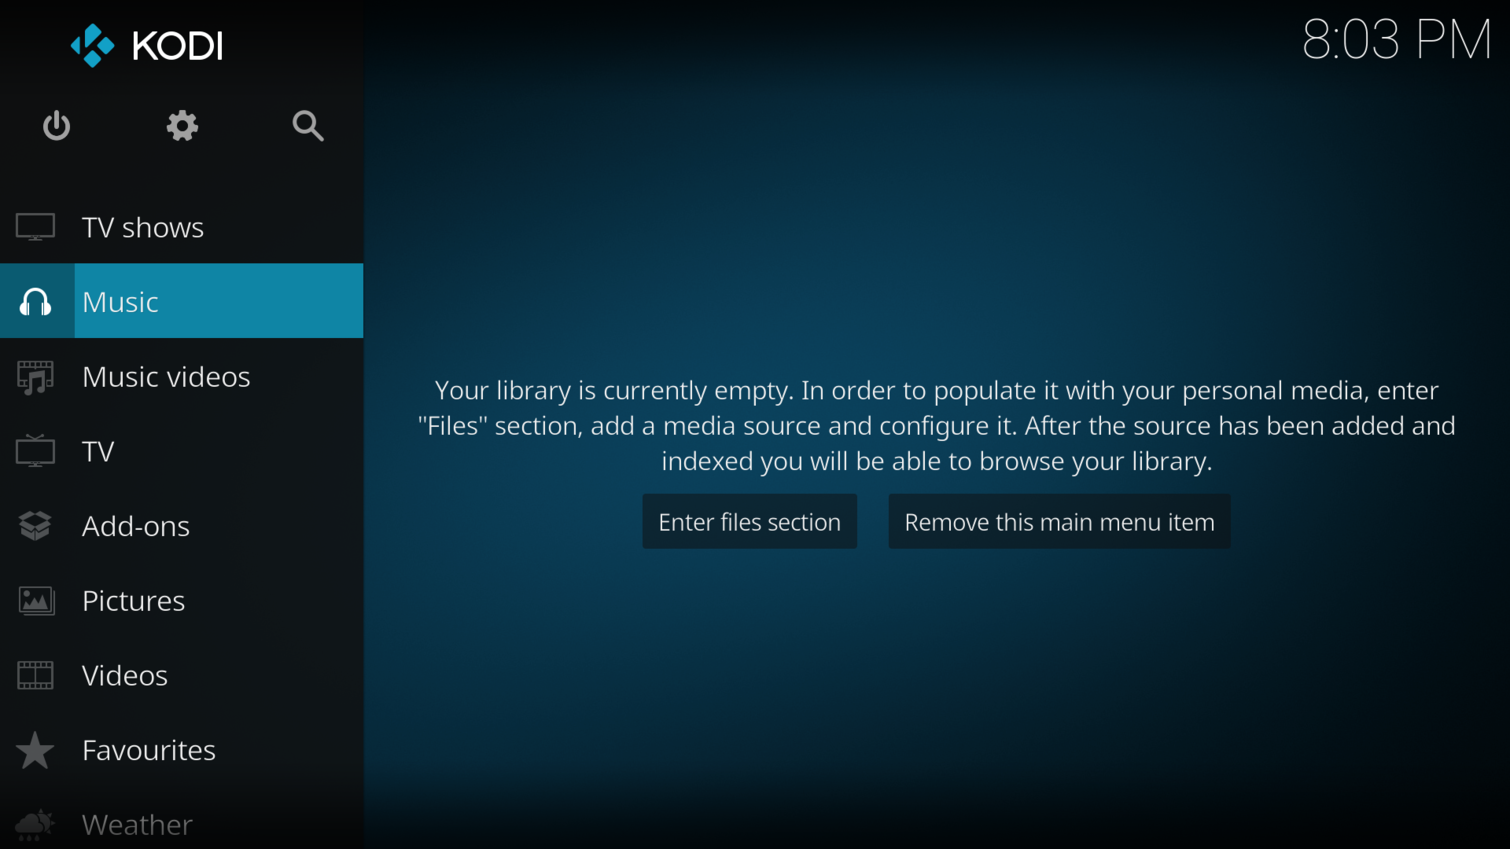
Step 2: In the Music File Browser select Add music. In some cases you may need to select Files to access this.

Step 3: In the Add music source window select Browse.

Step 4: In the Browse for new share window, navigate to where your converted Spotify music is stored, select the output folder and then select OK.

Step 5: You will now be taken back to the Add music source window. Under Enter a name for this media source you can optionally name your media source to replace the suggested name. Select OK

Step 6: You will now be asked if you wish to add your media source to the library. If you do, then select Yes.

Step 7: Kodi will begin scanning your source to the library. Once finished, you can back out to the Main Menu. There is no ability to queue processes so wait until the first scan is finished before adding more sources.

Step 8: Once your library is scanned you will be able to see & access Recently added albums, Random albums, Random Artist & Unplayed albums on the Home menu.

Note: The free trial version of Pazu Spotify Converter enables you to convert the first three minutes of each song. You can remove the trial limitation by purchasing the full version.
Buy Now Buy Now
Download and convert any Spotify songs, albums, playlists to MP3/M4A etc.