Google Slides provides users with a free and versatile tool to create engaging presentations. However, a simple slideshow may not be enough to fully capture your audience's attention. Here we will show you how to add Spotify music to your Google Slides presentation to make it more attractive.
You May Like:
1. Open Spotify and find the right track.
2. Right click on the track, then hover over "Share" and click "Copy Song Link".
3. Go into your presentation and go to the first slide you want the music to play under.
4. Select a bit of text (or an image) on the slide, click "Insert link" and paste in your Spotify link.
On the day of your presentation, make sure you're logged into the browser version of Spotify. When you click the link, it will open Spotify in a new browser window. Click play on the song in the Spotify window before returning to your Google Slides presentation.
The ability to insert audio was recently added to the Google Slides feature options. This is by far the easiest way to add music to your presentation using Google Slides. This can be done by following these steps.
1. Upload your audio files to your Google Drive account.
2. Open your Google Slides presentation.
3. Click on “Insert” from the top menu, then “Audio”.
4. In the pop-up window find the audio file you want to include from your Google Drive.
4. Click on the “Select” button. Your audio file should now be embedded in your presentation. You can click and drag the audio icon to place it wherever you want.
Then you may ask how to upload Spotify music to Google Drive and then embed them to Google Slides . Actually, Spotify songs you downloaded with Spotify premium can't be upload to Google Drive and add to Google Slides since they are DRM protected. To embed Spotify music to Google Slides, you need to download Spotify music to Google Slides supported format first. That's why you will need Pazu Spotify Converter.
Pazu Spotify Converter is a professional music downloader and converter for Spotify users to download Spotify music to popular audio formats like MP3 at up to 320kbps and remove DRM protection from Spotify music. After that, upload the Spotify mp3 songs to Google Drive.

Launch Pazu Spotify Converter on your computer and it will automatically load the Spotify app.

Drag&drop the song/album/playlist you want to add to iMovie from Spotify app to the interface of the software for downloading.
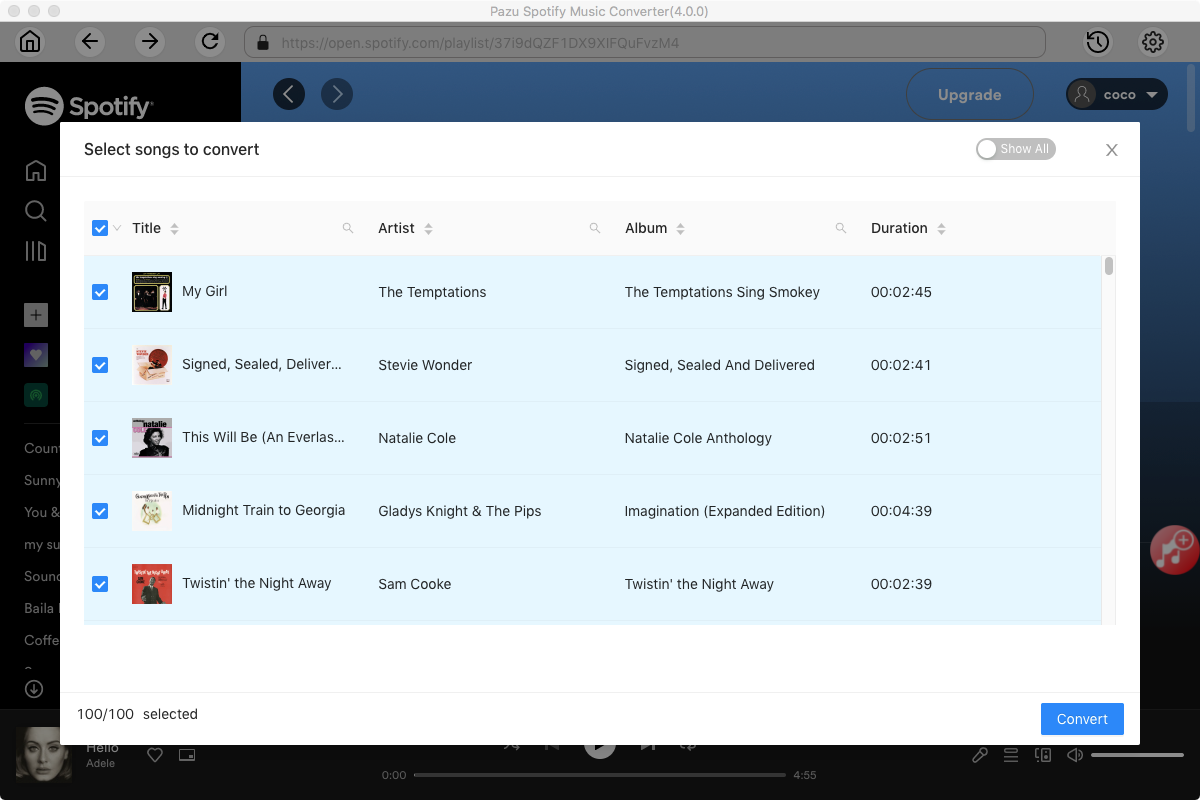
Click Option - Advanced and you could adjust the output audio settings. Choose output format from MP3/M4A/WAV/FLAC/OGG/AIFF (iMovie supports M4A, MP4, MP3, WAV, and AIFF). You can change the audio quality, customize the output path, and organize the output file in various ways.

Once all the settings are completed, click the Convert button to begin to download music from Spotify to the format you choose.

After the downloading and conversion, you can go to browse all the converted Spotify songs in the converted list by clicking below folder icon and then upload the Spotify mp3 songs to Google Drive for adding to Google Slides presentation.

Note: The free trial version of Pazu Spotify Converter enables you to convert the first three minutes of each song. You can remove the trial limitation by purchasing the full version.
Buy Now Buy Now
Download and convert any Spotify songs, albums, playlists to MP3/M4A etc.